After a couple of months re-designing the addition and layout, we came up with an updated plan. Our contractor came back from vacation and was able to get some help from another local contractor. Off they went and the walls are up (in about 2 days, 7 total person days). The roof trusses have been ordered and they may get installed by mid September.
Category Archives: Uncategorized
The Big North Wall Construction Project (Part 7)
The Big North Wall Construction Project (Part 6)
The Big North Wall Construction Project (Part 5)
Ever heard of a problem snowballing into a much larger problem. This project has just become a very large snowball.
Let me quickly go over what happened after the news about the bad foundation.
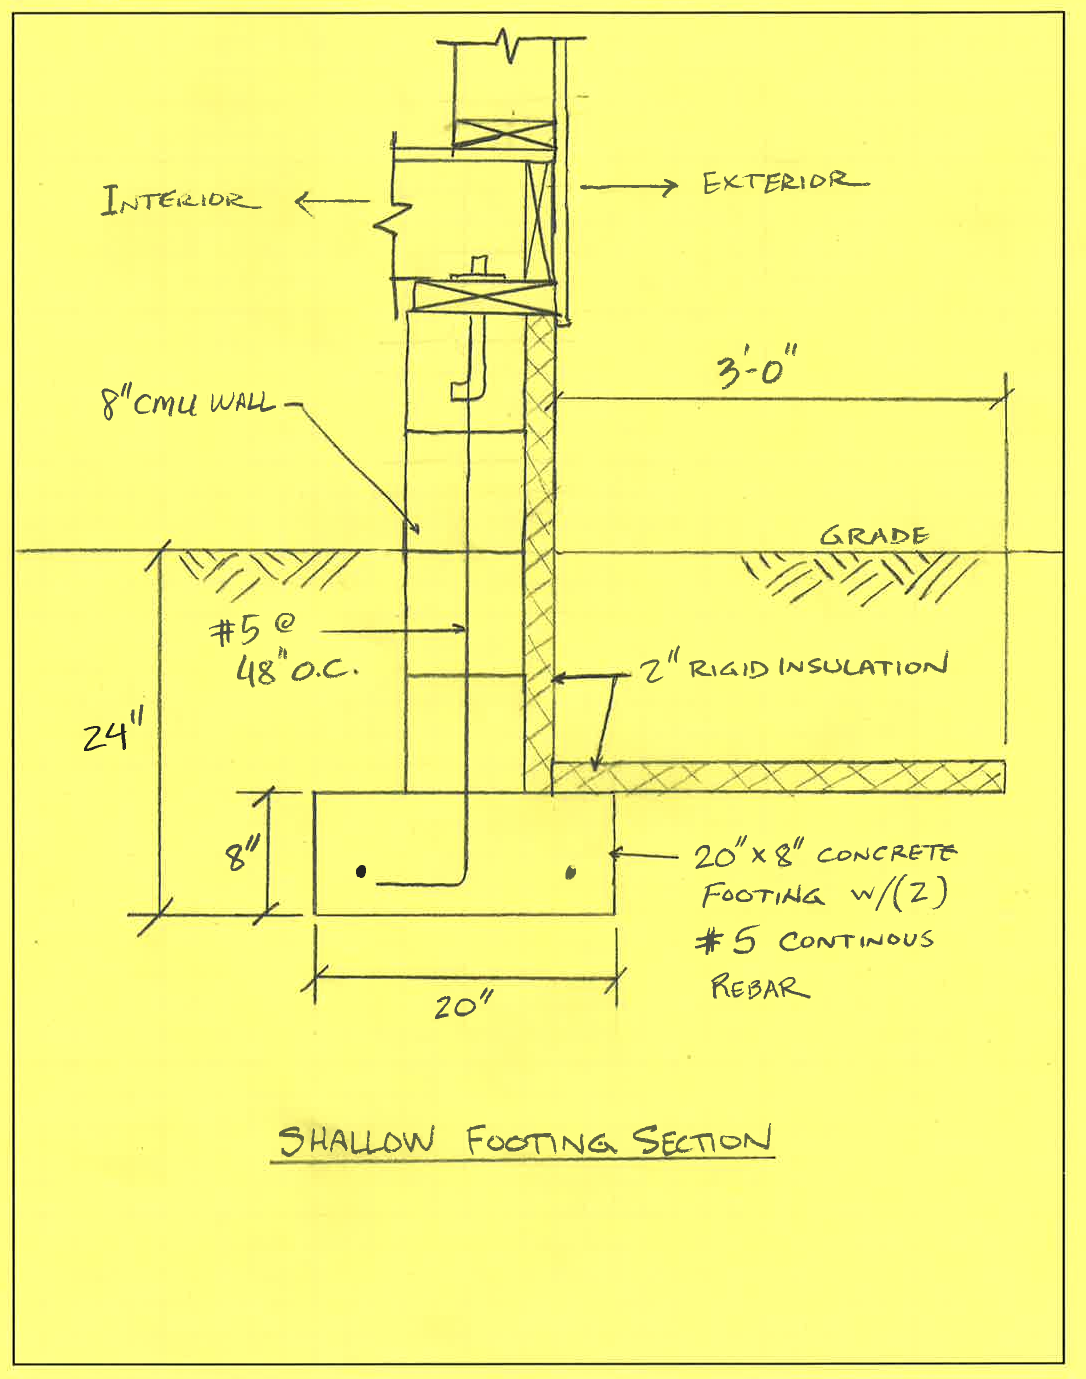
Our structural engineer came back to our home, and after two iterations the conclusion was that the foundation had to be removed and rebuilt. In remodel-construction you are not required to bring anything up-to-current-code except for anything you modify or replace. Since we had planned to use the existing foundation, we did not have to upgrade the foundation (location, size, depth of the footing) to current code. But now that we have to replace the foundation, we had to start planning/designing our project around the current code requirements. This means, that the footing has to be deep enough to be below the frost line, which is 5 ft deep in MN. There is one other option and that is to dig 2 ft deep, with a 3-feet wide horizontal rigid foam insulation perimeter. See the engineer’s drawing:
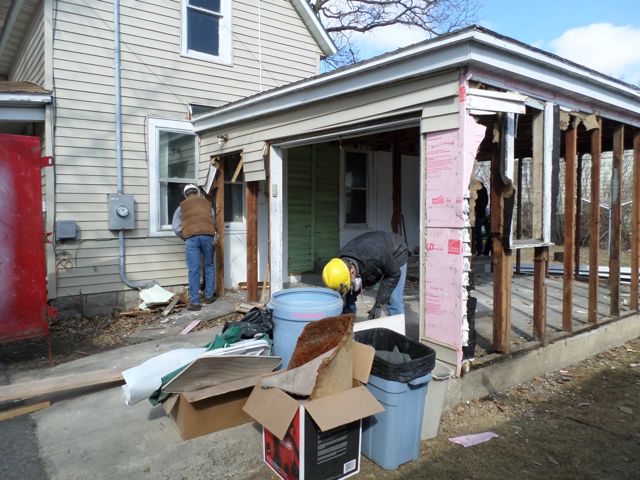
We went through the following iterations of the foundation project scope: At first it was just a ‘surgical’ removal of the north foundation wall. Then, when the building inspector, the contractor, and the structural engineer got together at the home, the plan changed a little bit, but still it would be surgical of the north foundation wall and a small piece of concrete at the side entrance of the garage.
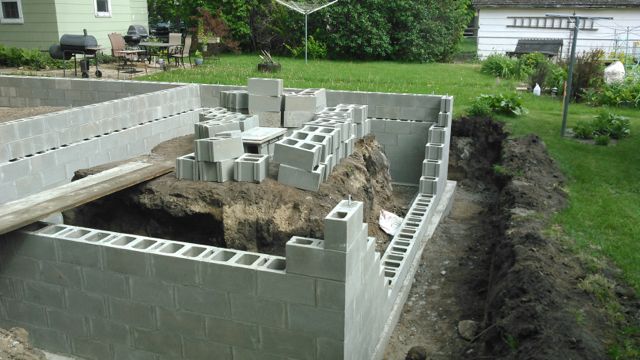
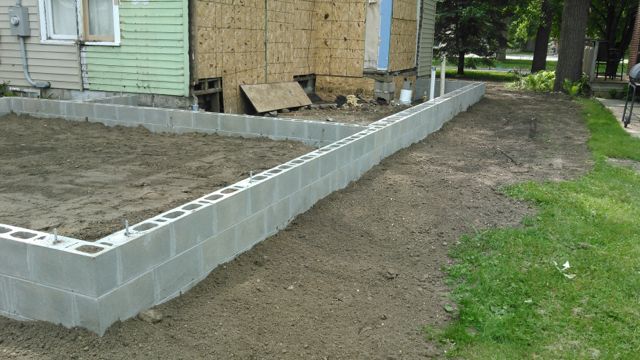
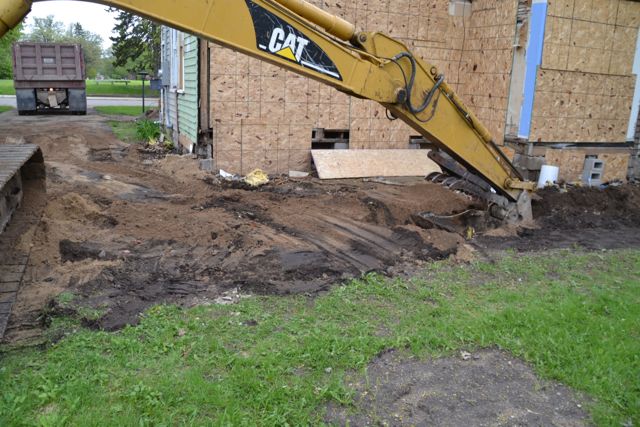
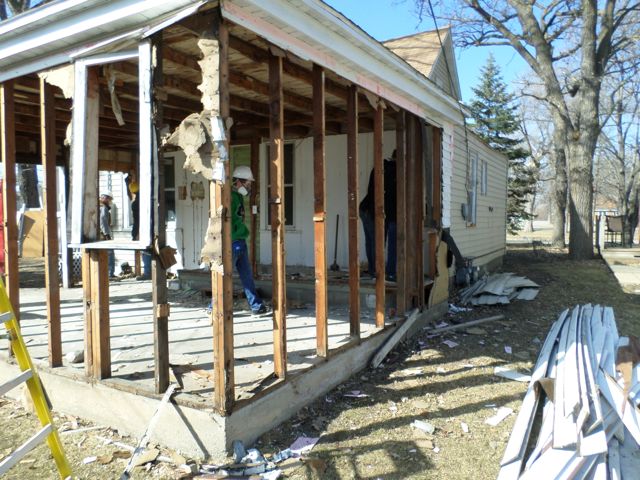
Then, when the excavator and the mason looked at the site, they came to the conclusion that really the only way to do this right, was by removing the garage’s concrete slab, the breezeway flooring and foundation and build a 5-foot deep foundation for that entire structure (including the garage).
The end-result: a project that will cost us approximately $12K on top of the original project (of about the same amount)
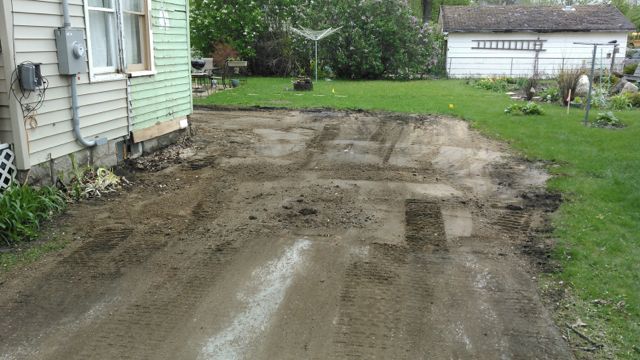
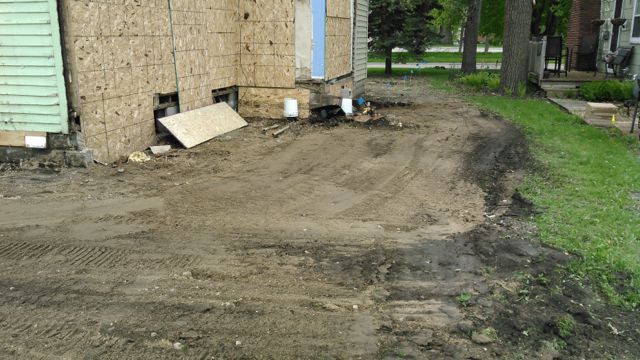
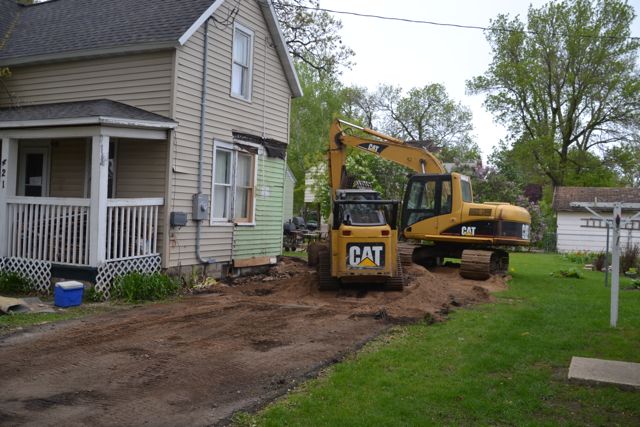
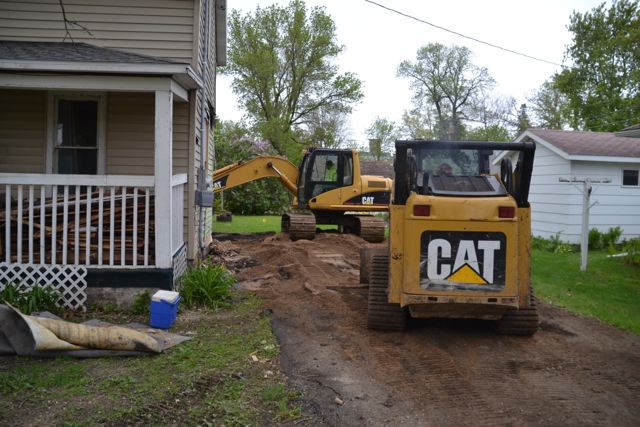
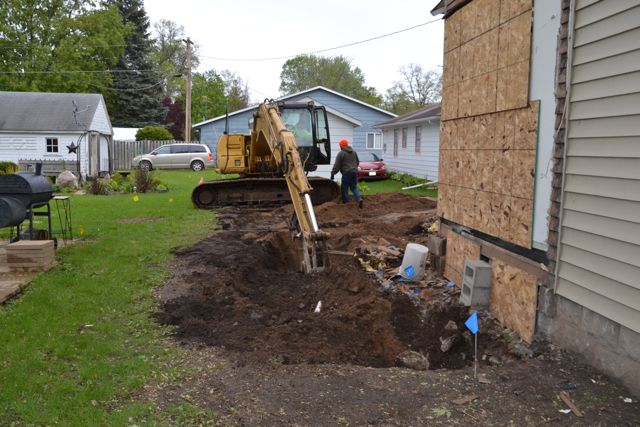
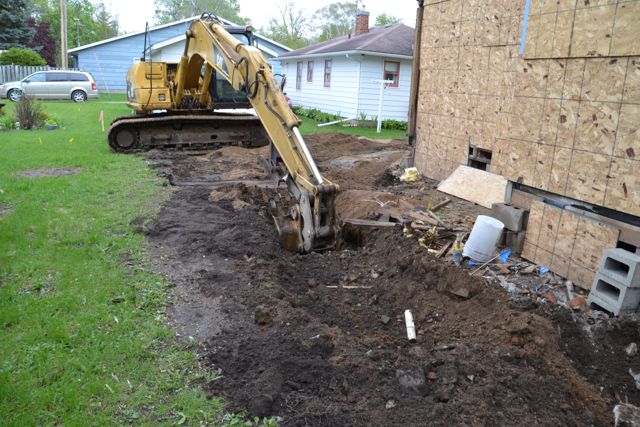
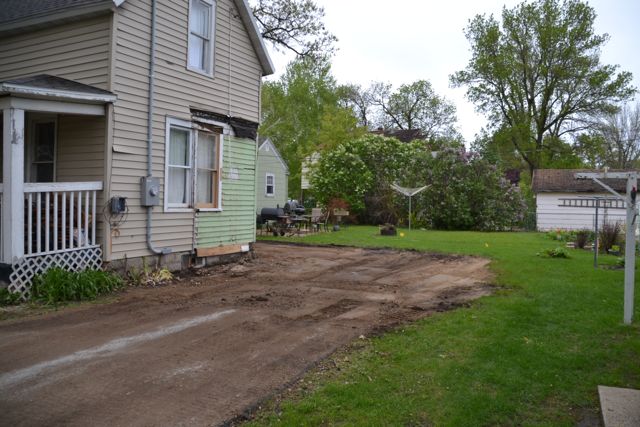
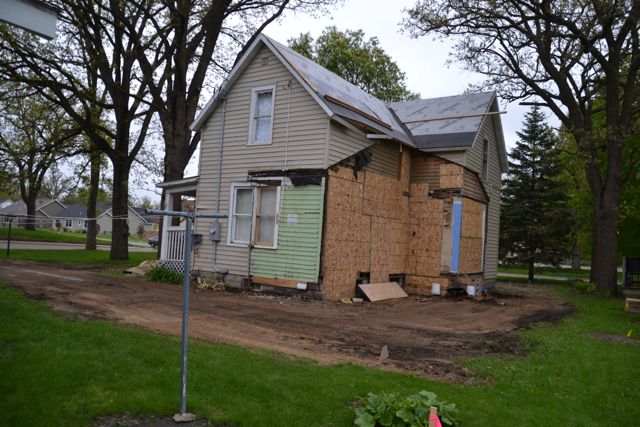
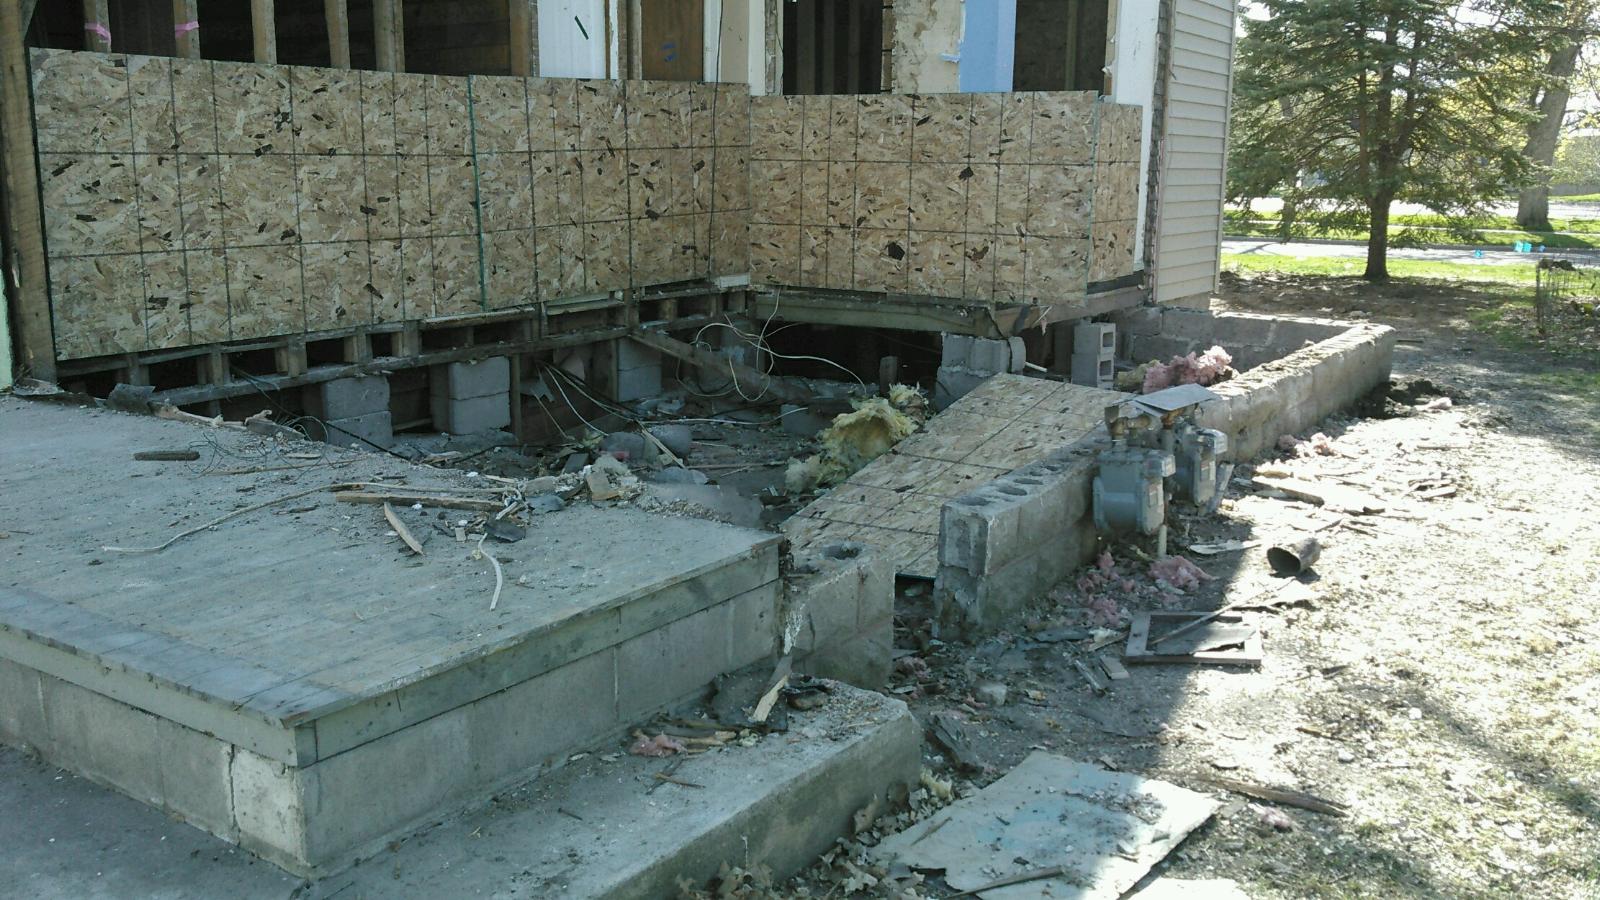
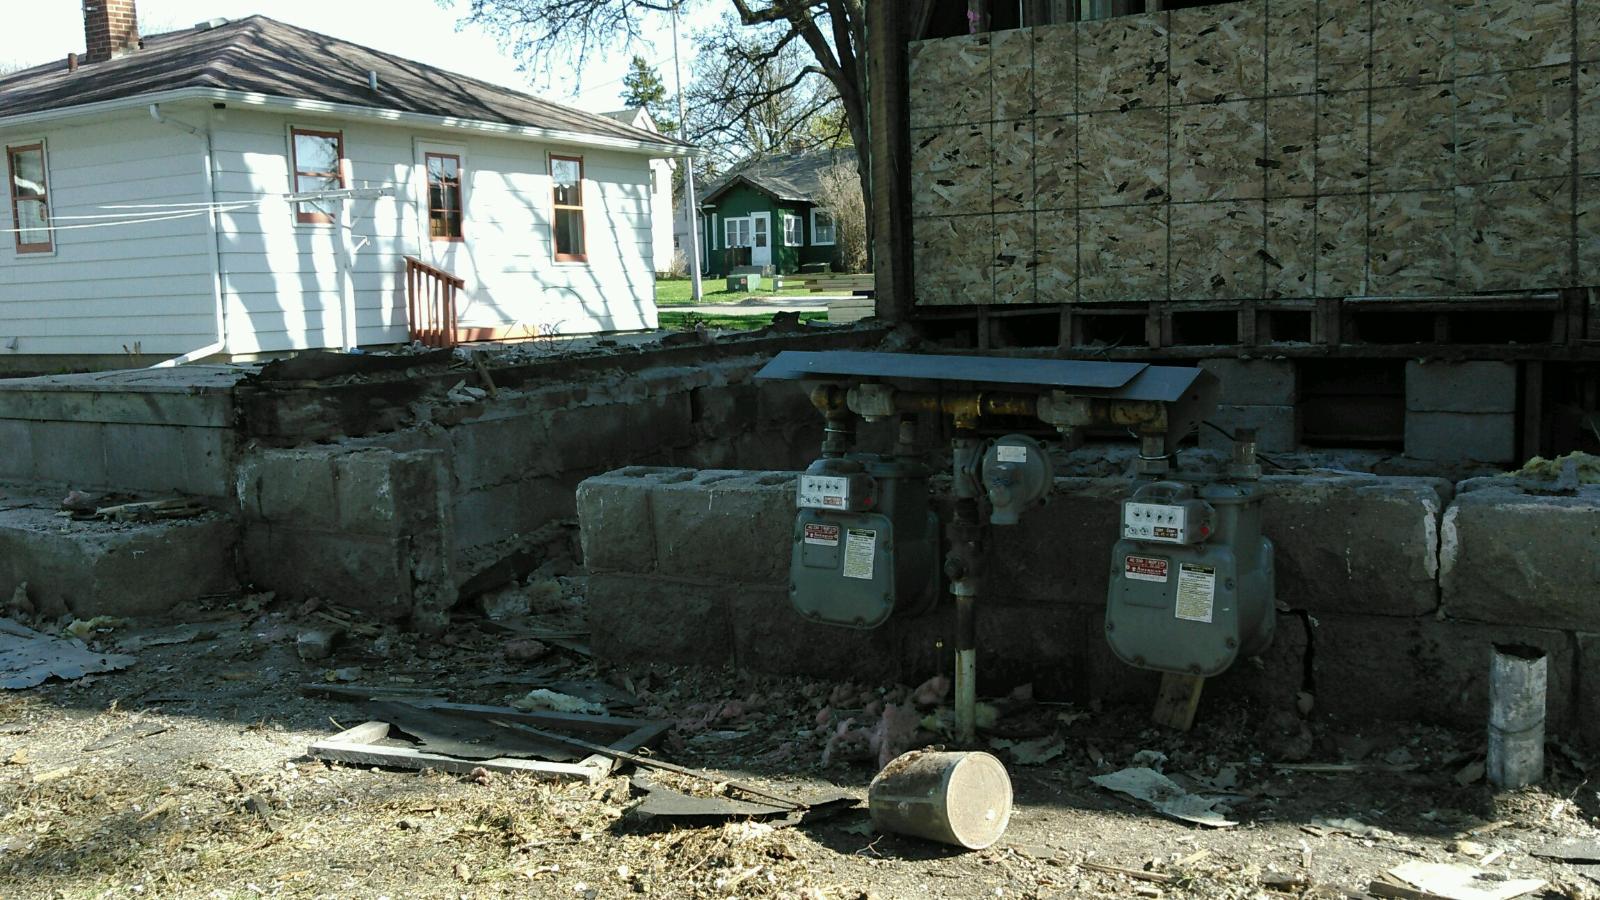
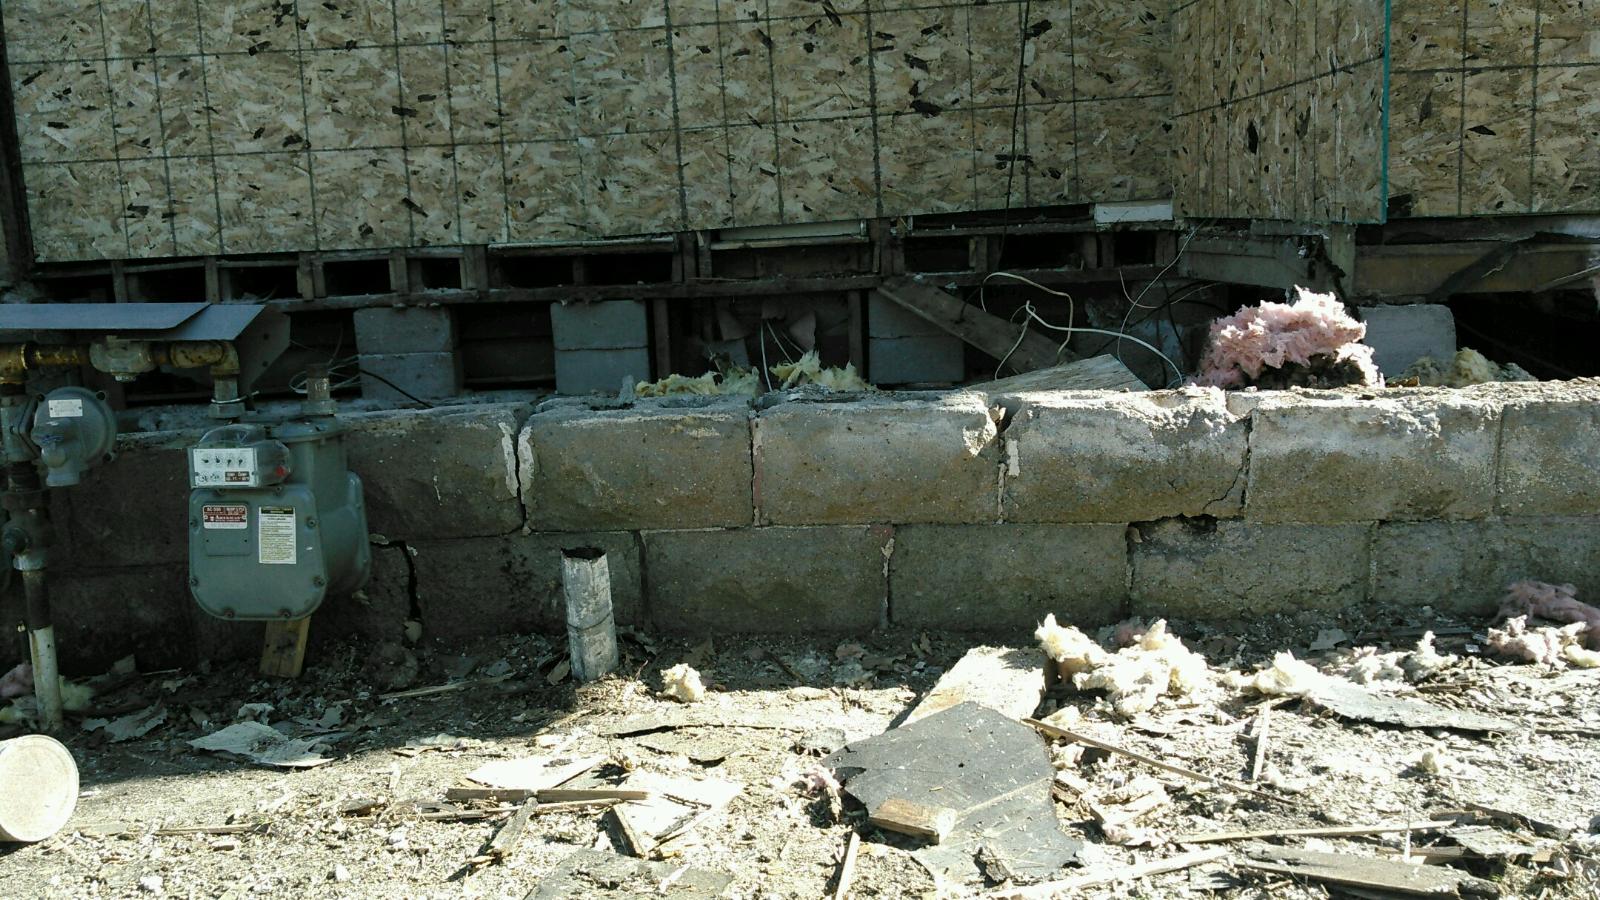
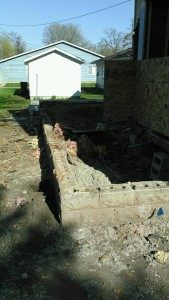
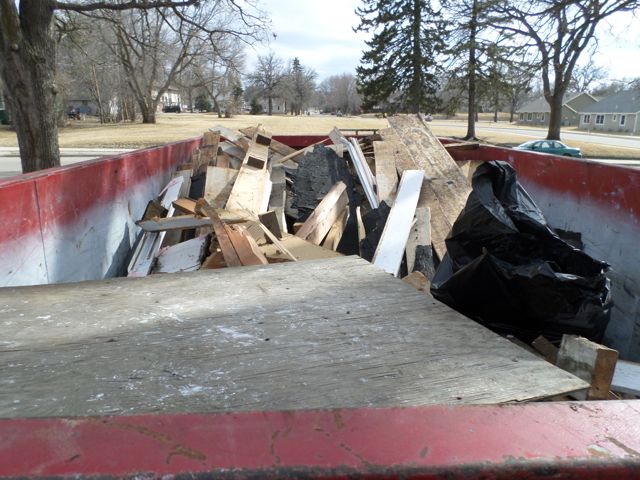
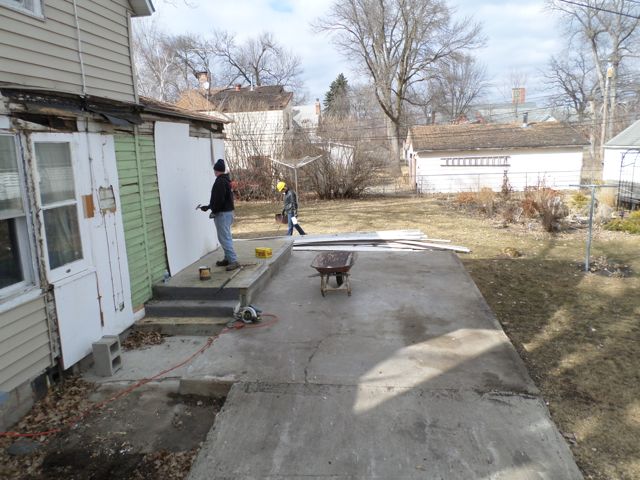
Anne and I decided that by building this new foundation, we have the option of changing the floor plan/layout, we are going to hold off on the rebuild. We have asked the excavator to remove al of the concrete and old foundation parts. We have also ordered a survey of the property, to determine our property line, such that we can determine the boundaries of our new foundation and with that, we can redesign the north wall.
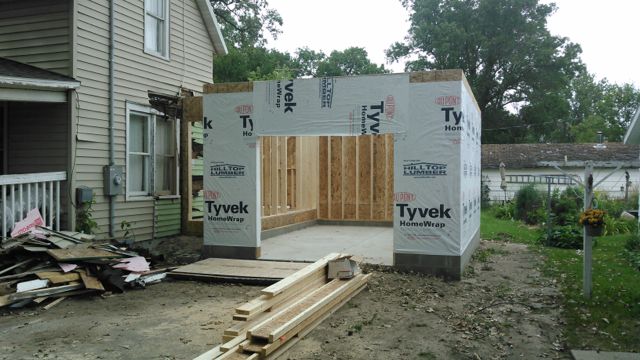
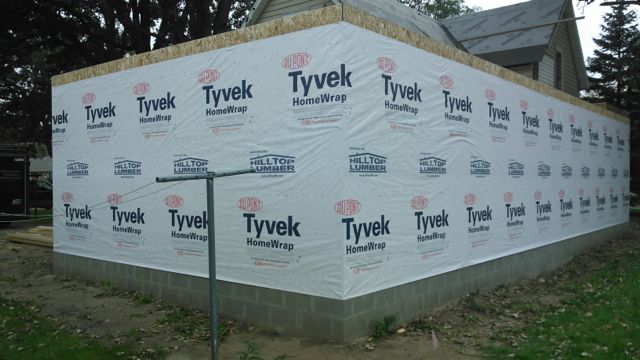
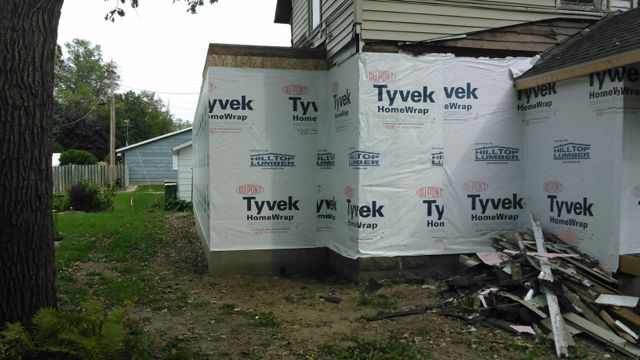
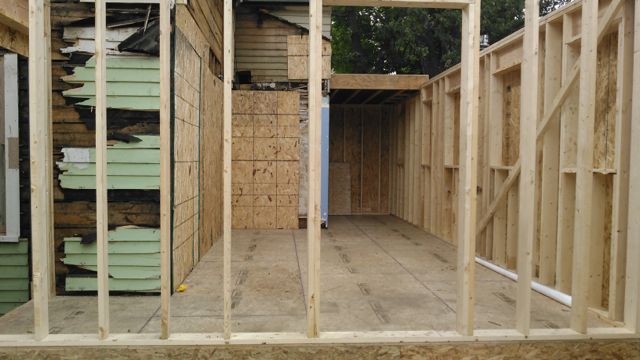
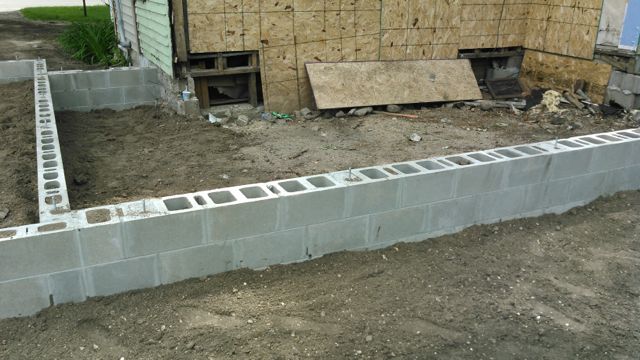
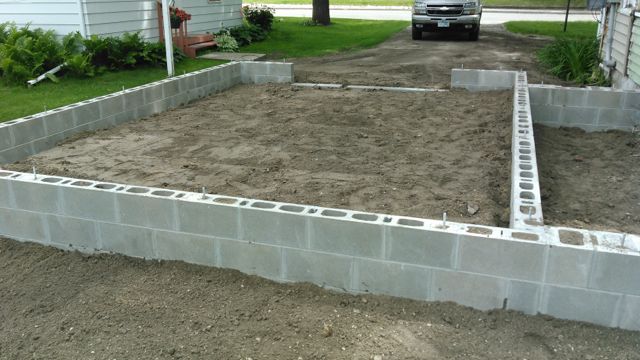
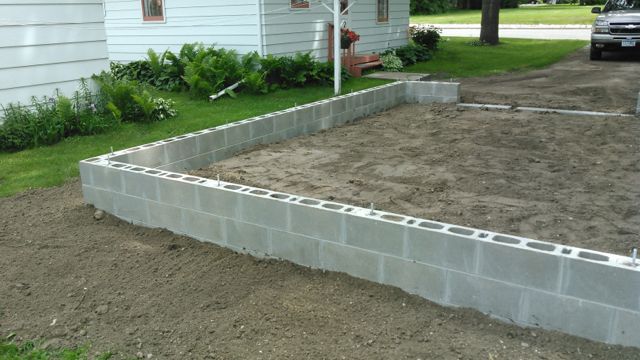
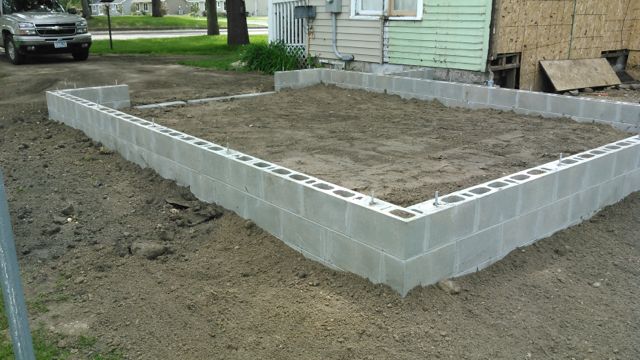
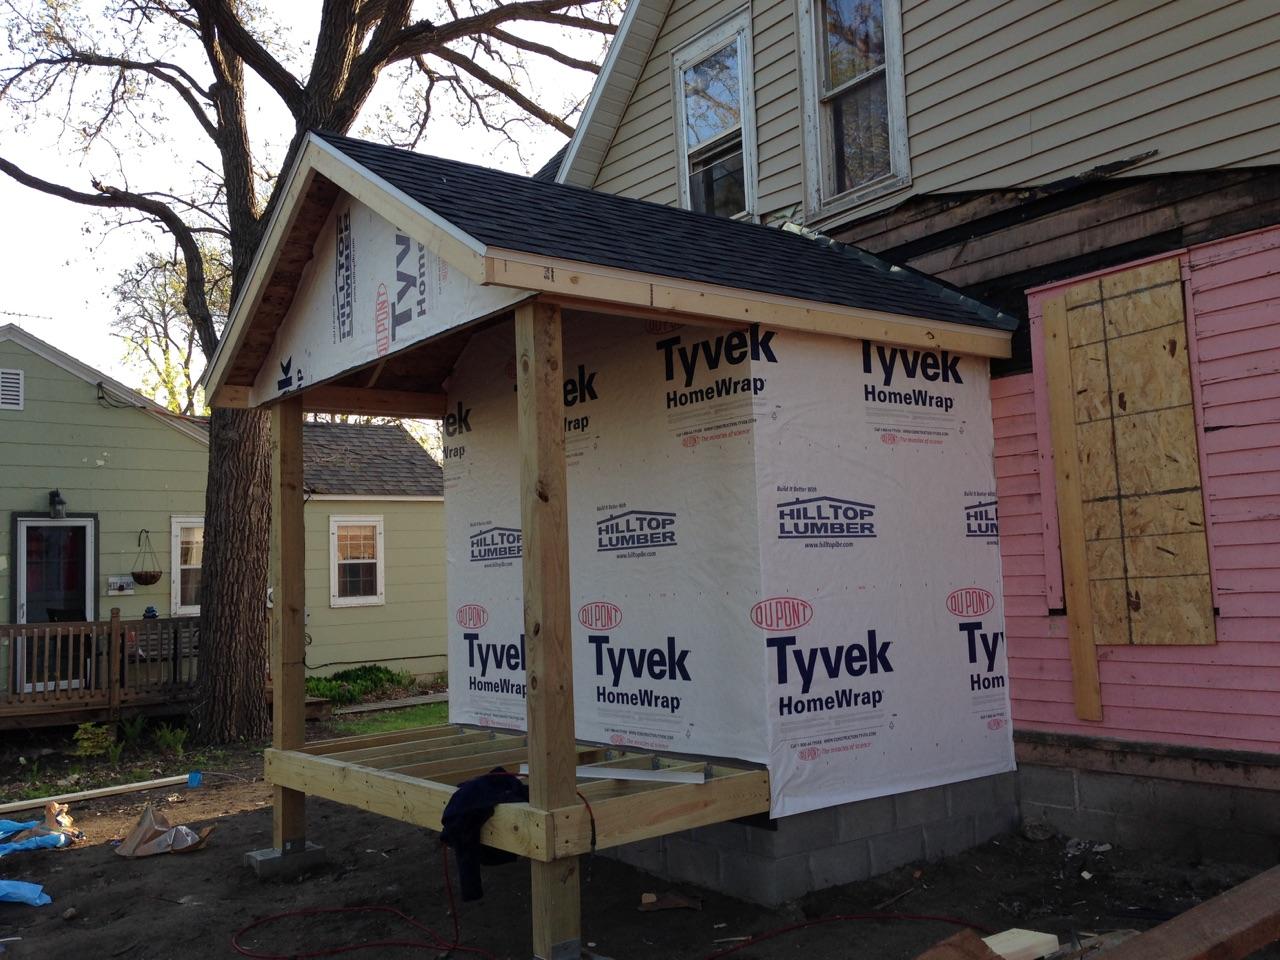
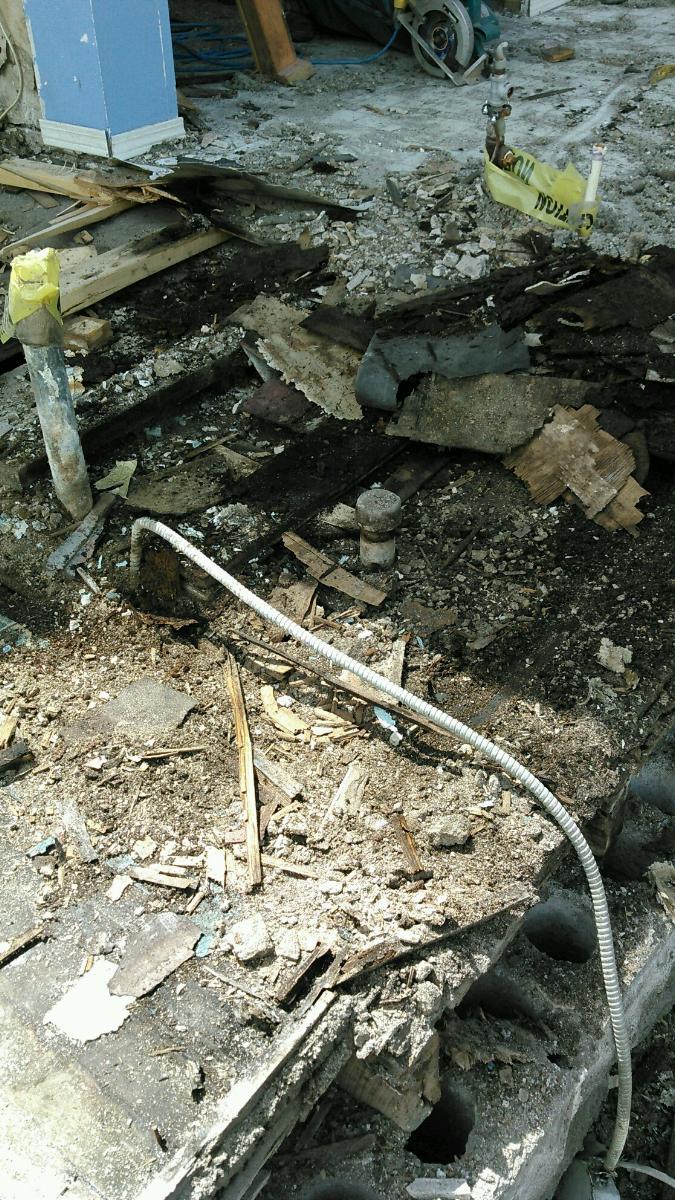
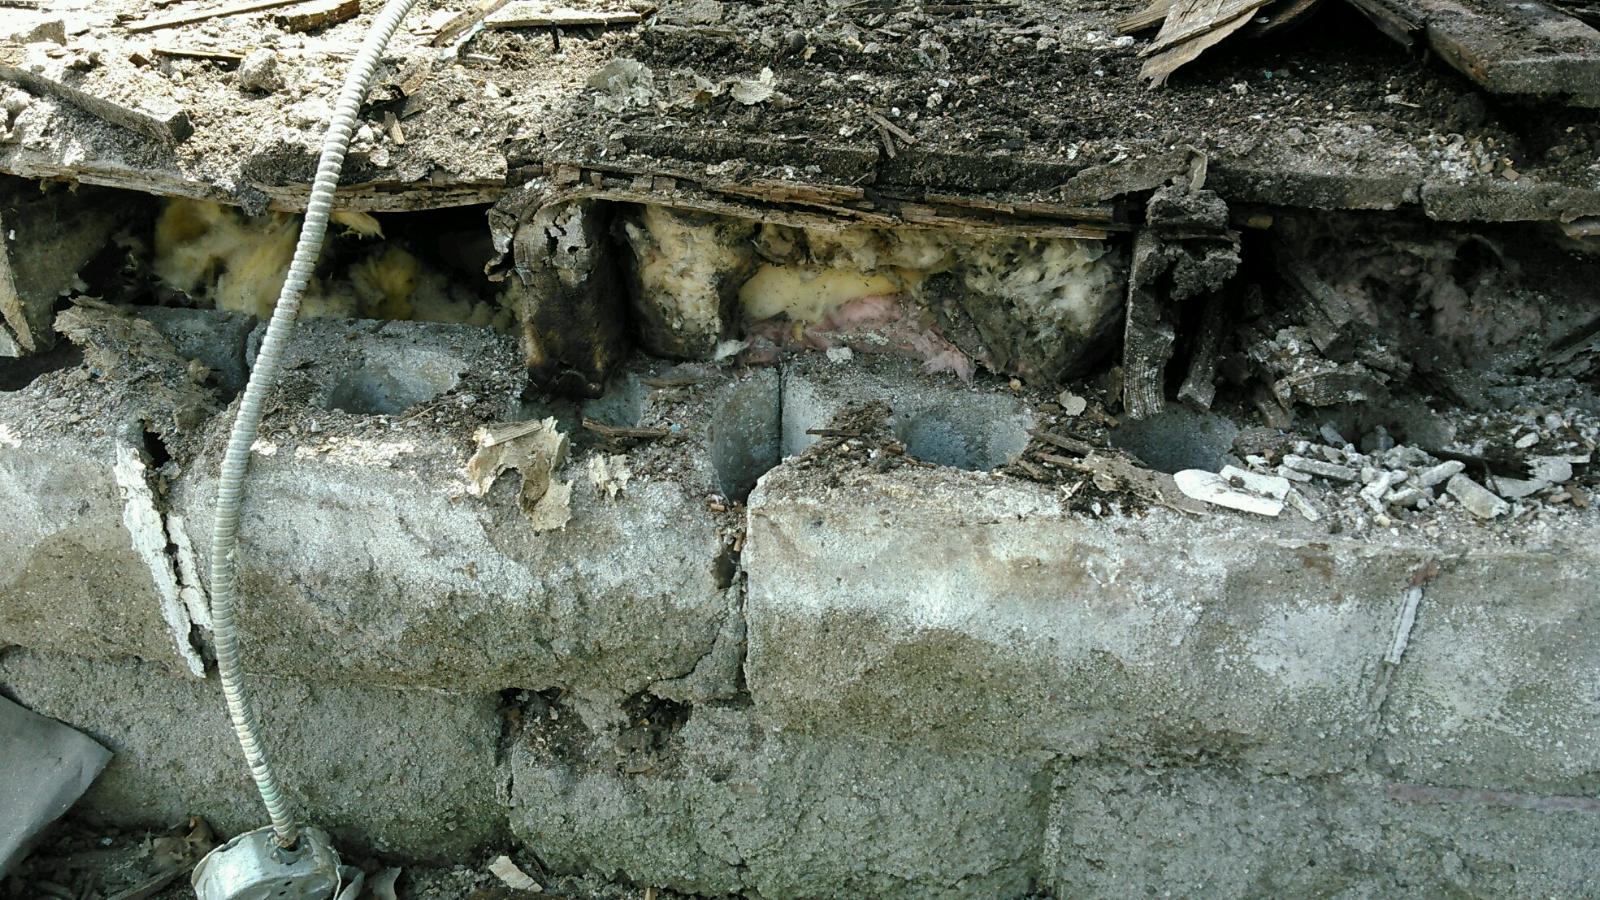
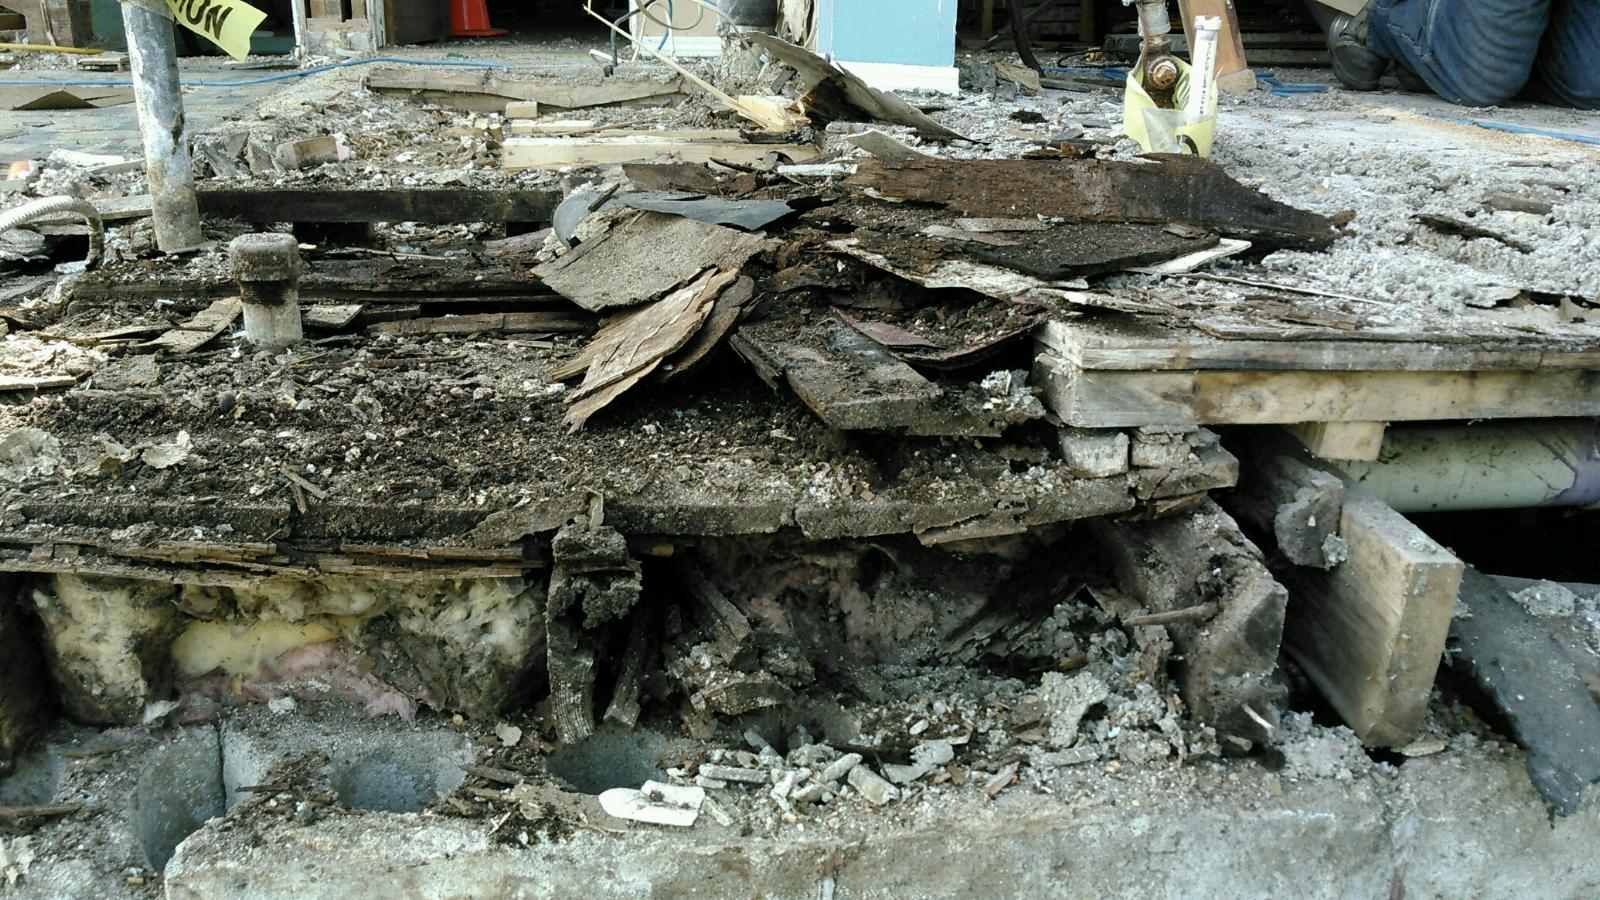
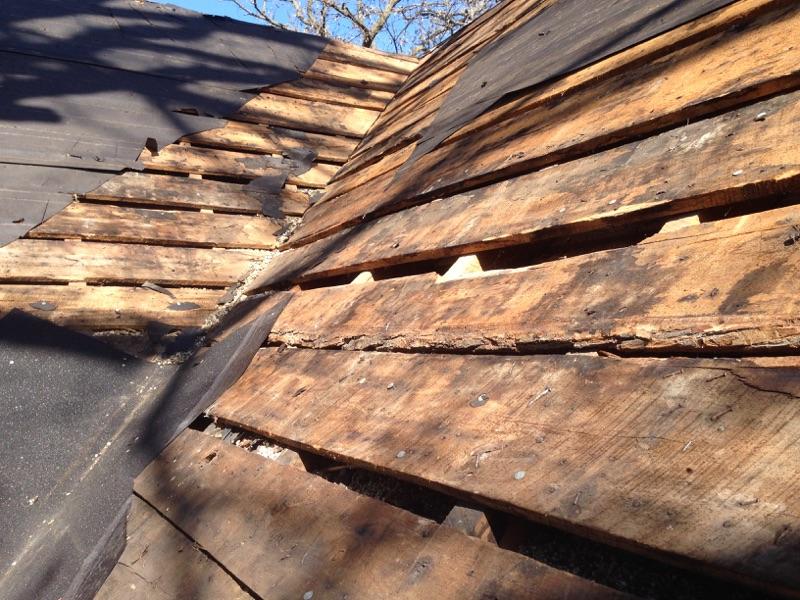
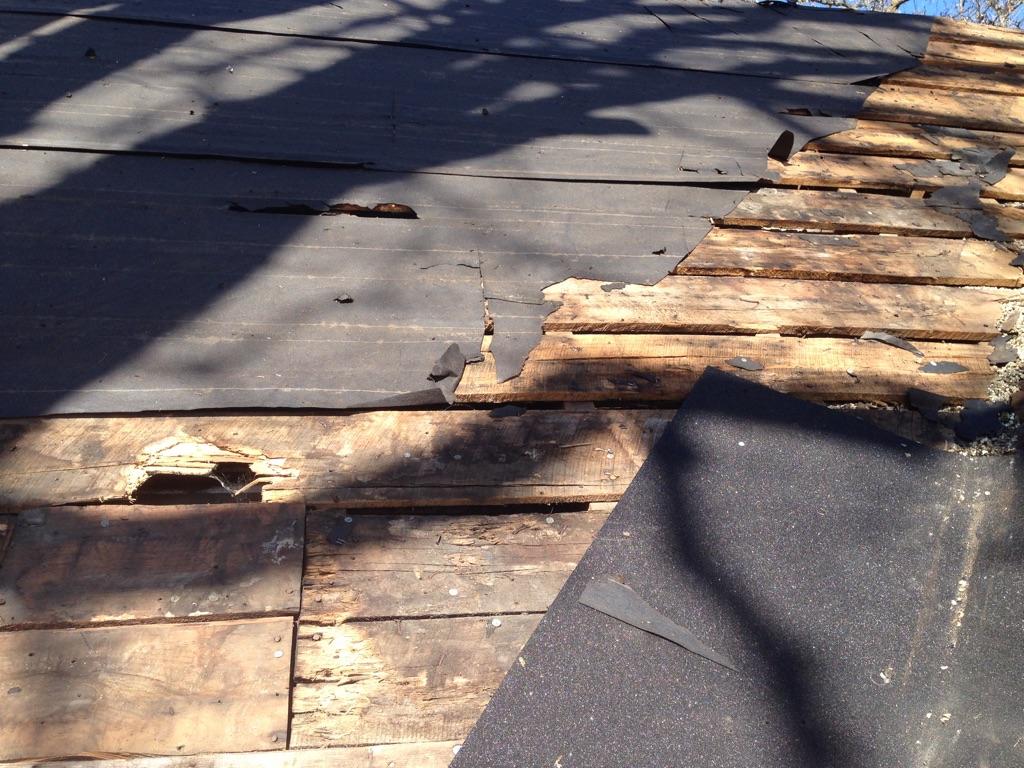
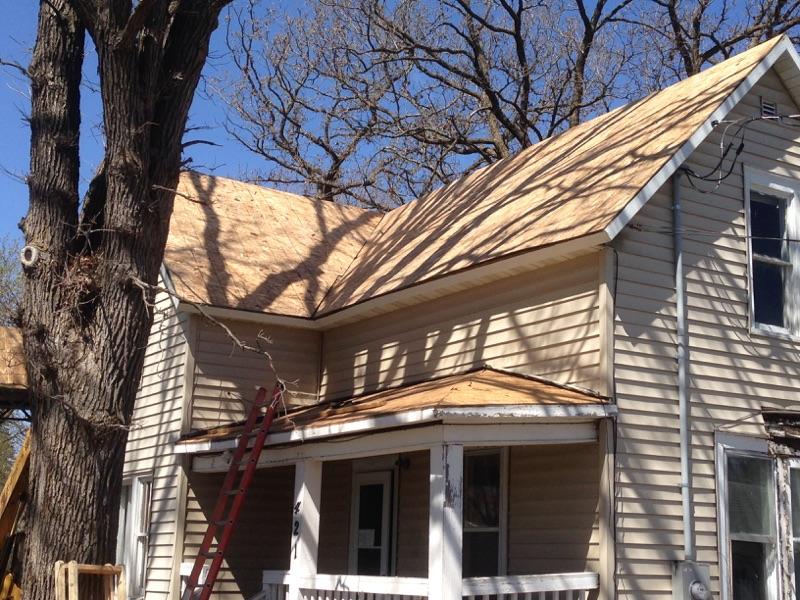
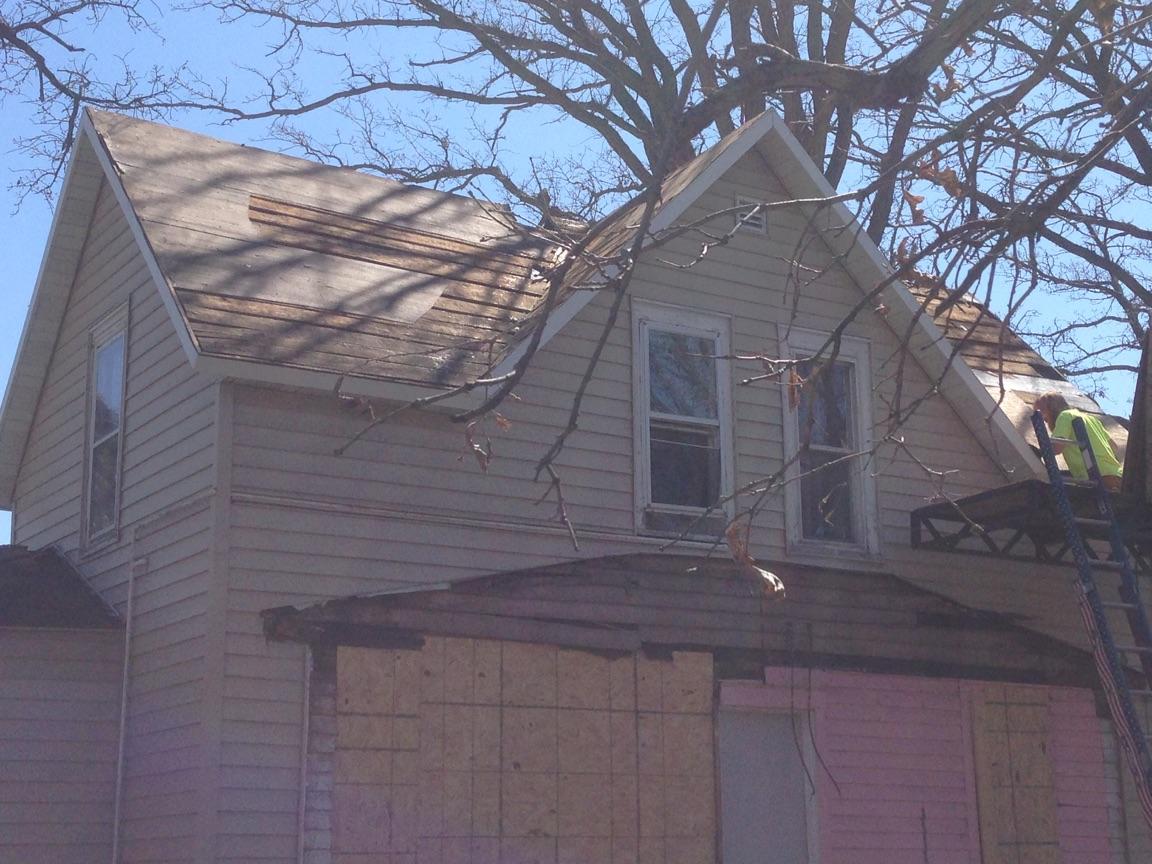
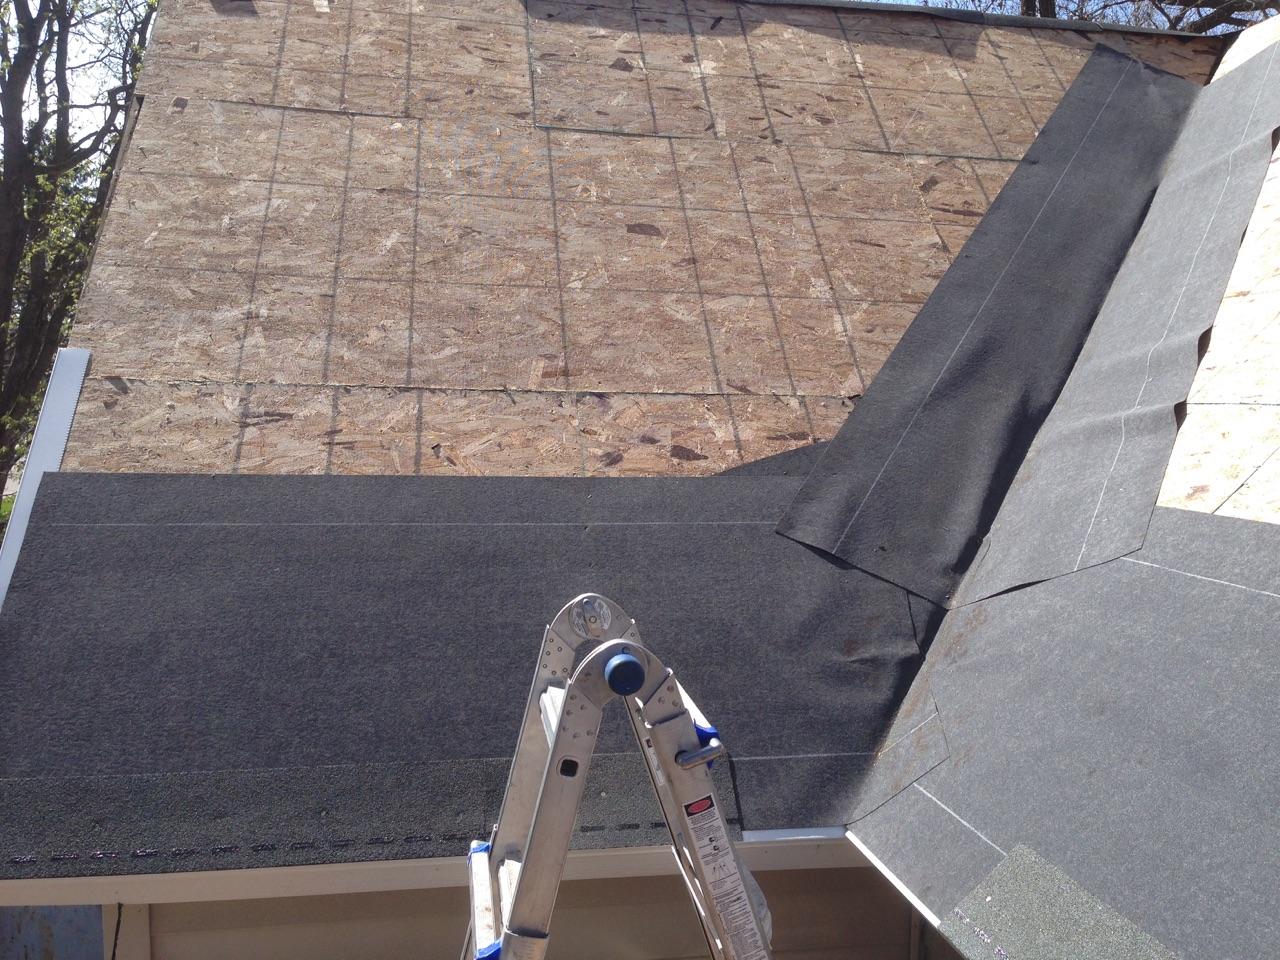
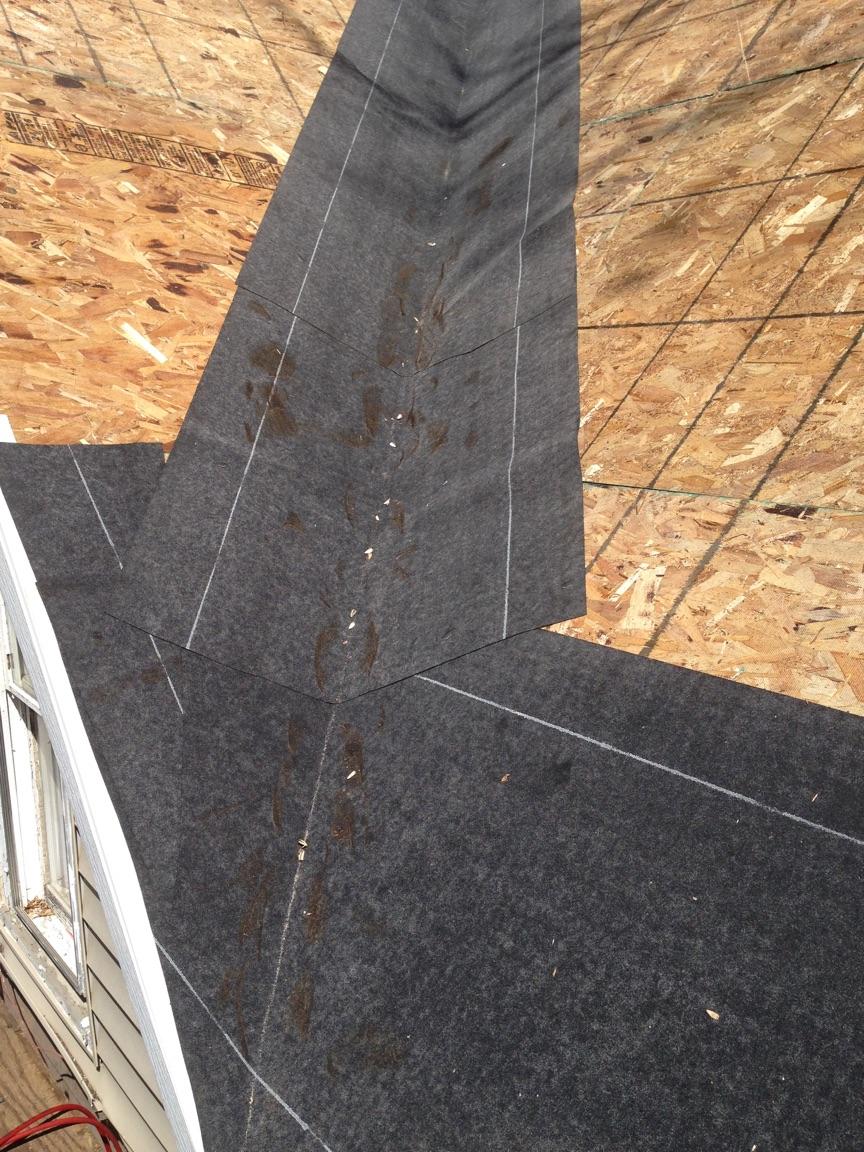
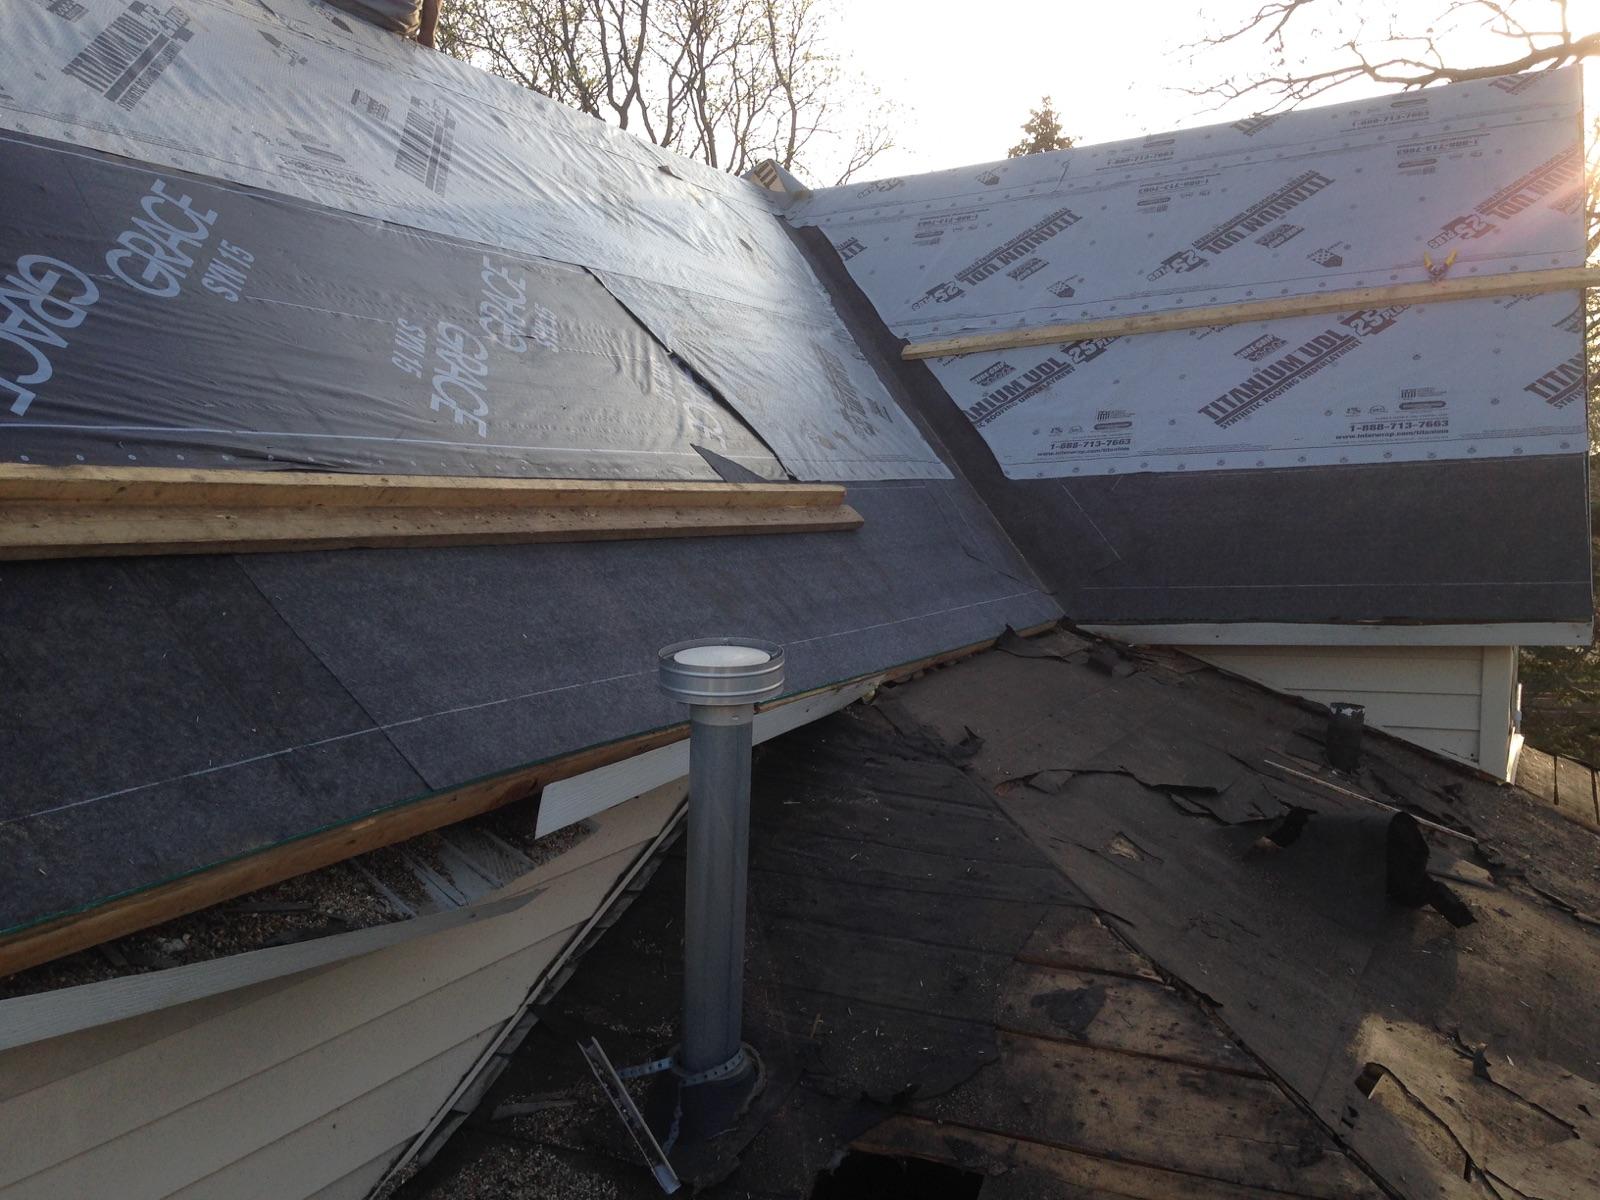
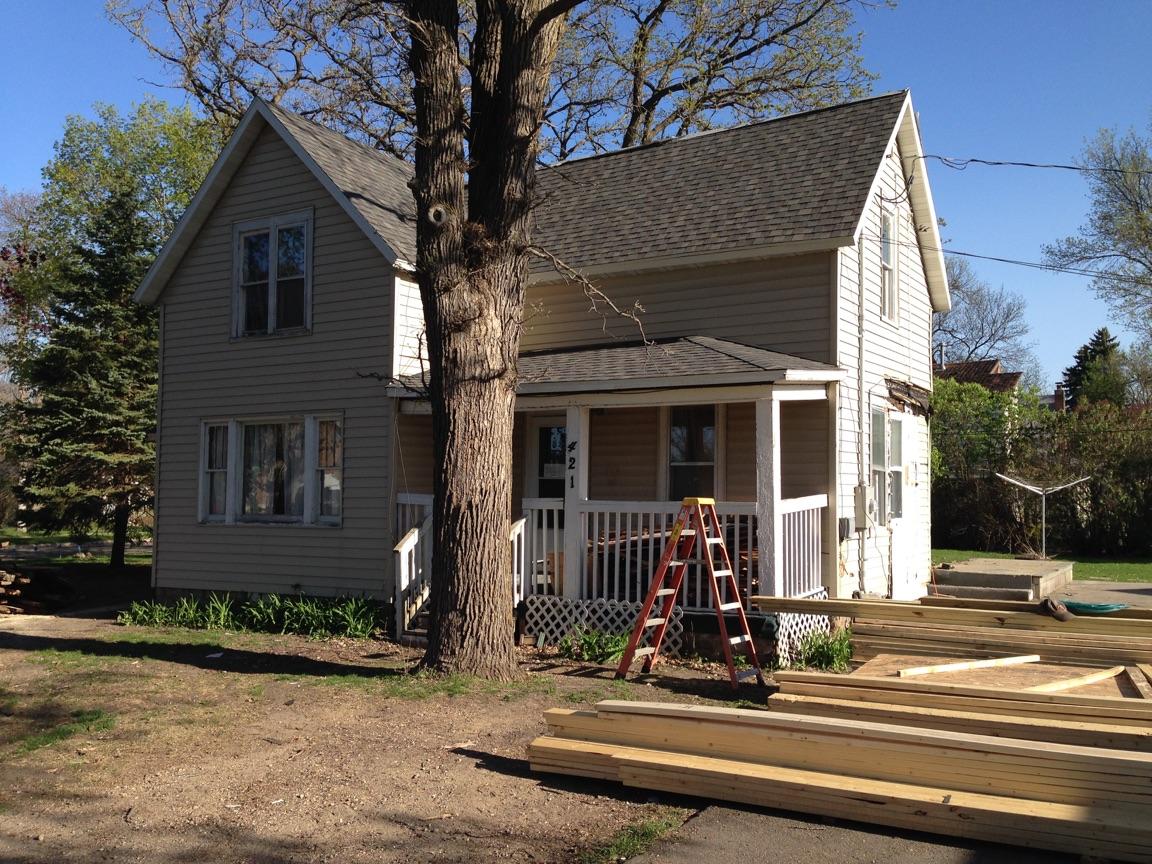
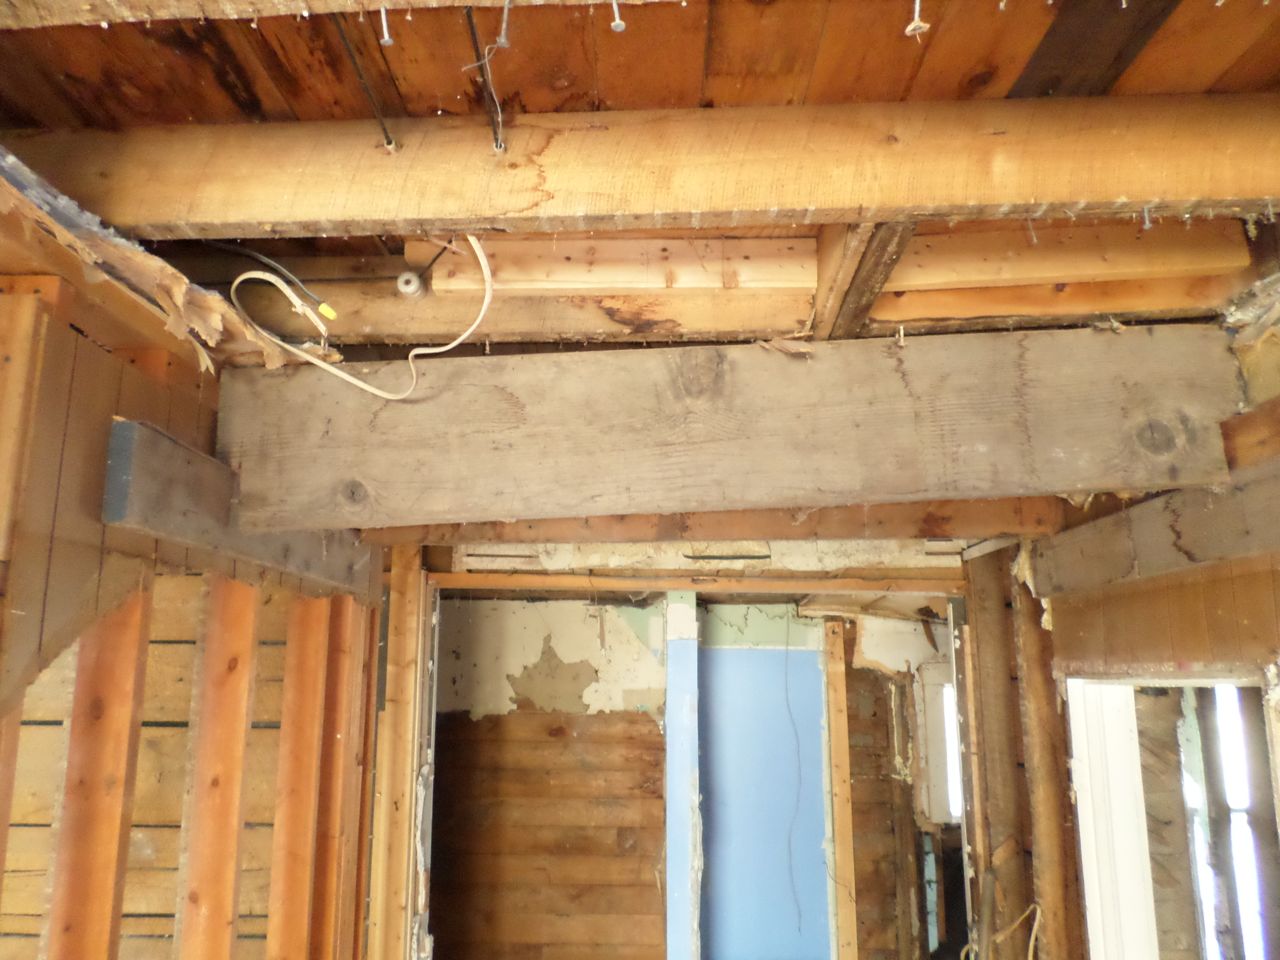
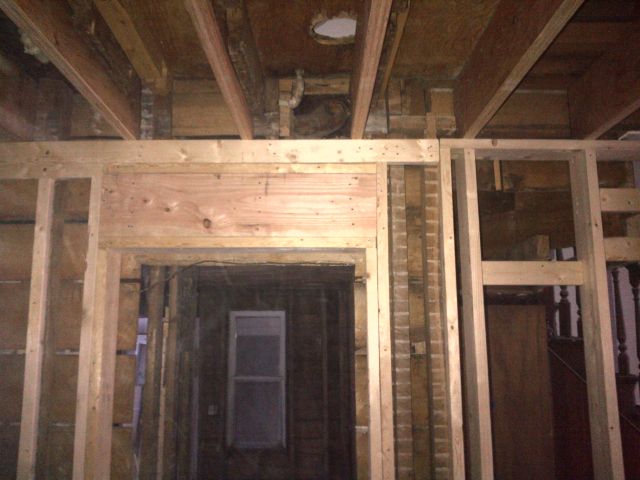
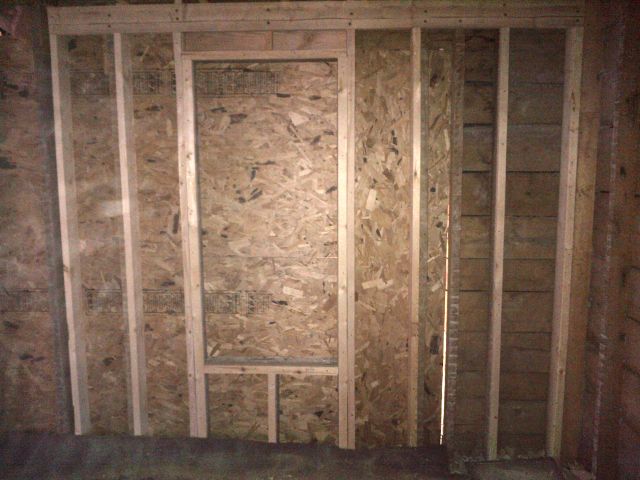
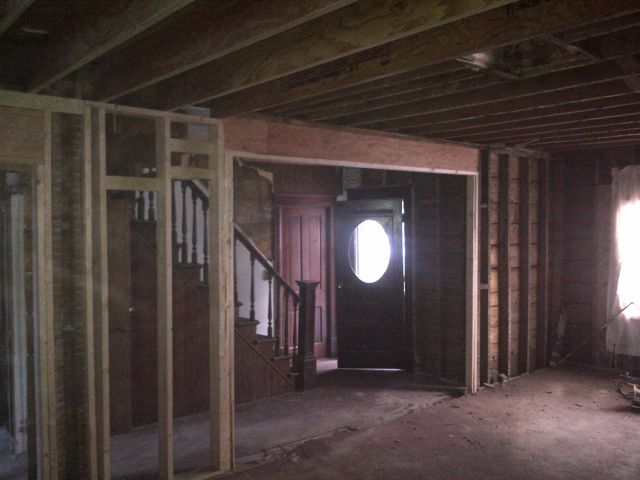
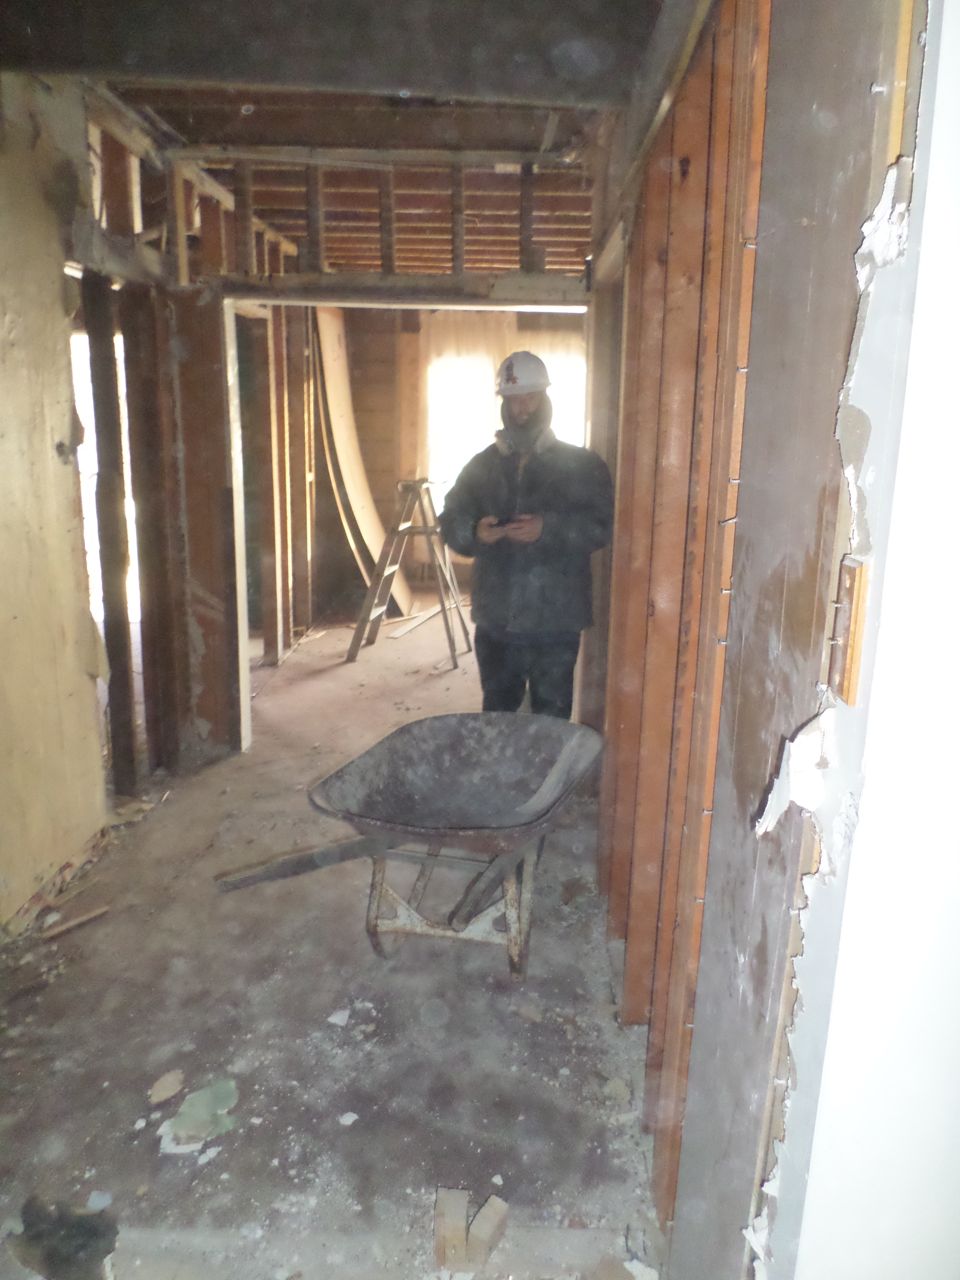
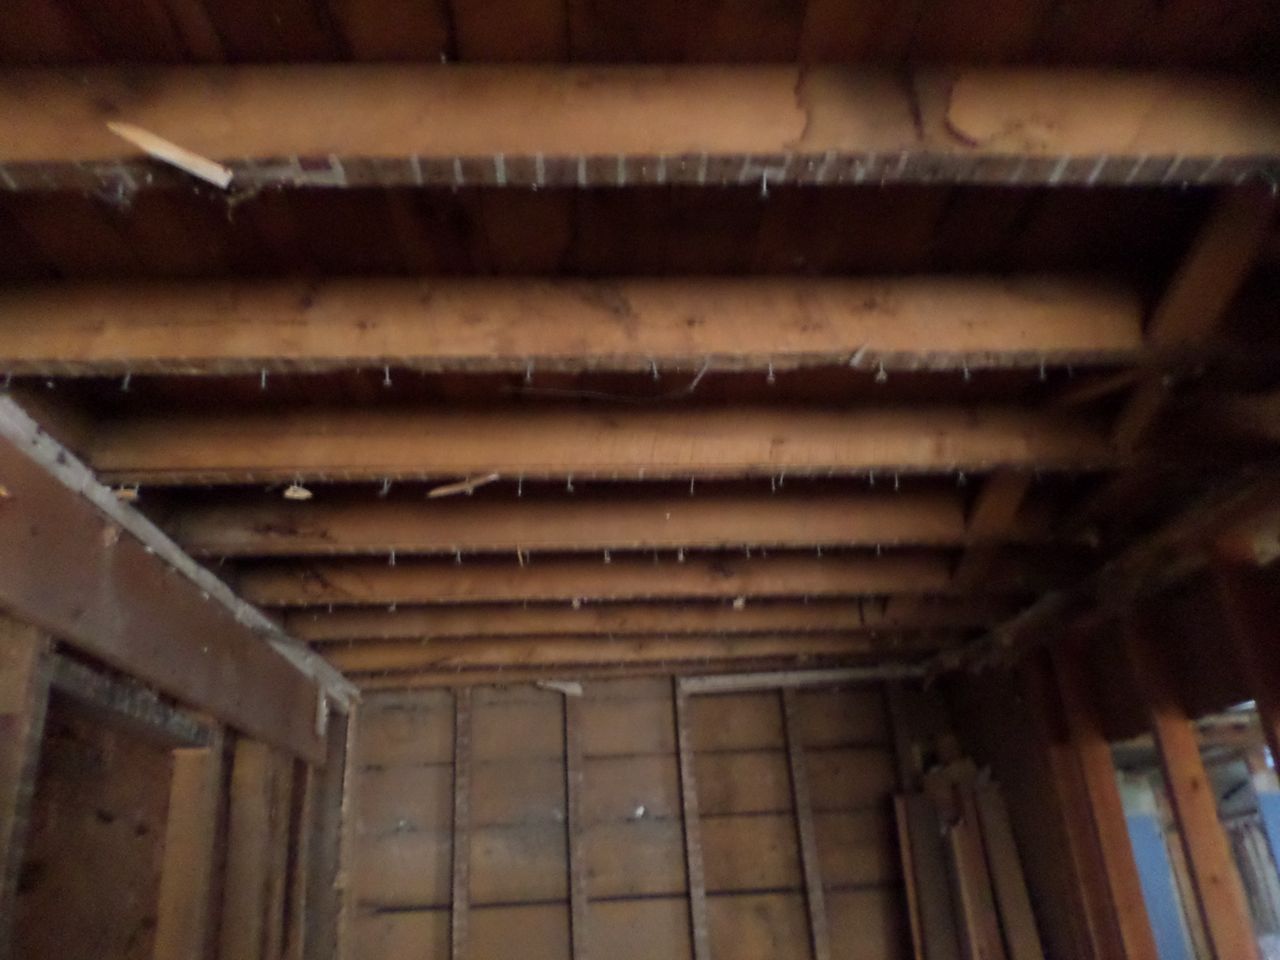
Pictures of the current state of our site to follow soon.
The Big North Wall Construction Project (Part 4)
Yikes!
That is the best response (at least the best PG-rated response) to the situation we are in now.
Our Vacation home’s North Wall project plan needs a major revision. Let’s review the consequences of the foundation problem.
Immediate consequences:
- We had 4 construction workers on-site, intended to build the new garage and north wall structure. The plan was that they would be on-site for about a week to get the work done. We also had in the plan that the front porch was going to be framed by this group. So that is what they did. It looks great.
- We had lined up our roofer to immediately finish the north side of the roof after the new structure was finished. In the picture below you can see that there is only a membrane on that side of the roof now.
See next post as to what our plan is going forward.
The Big North Wall Construction Project (Part 3)
Step 4: Demolishing the north wall and lower roof.
Originally intended to be started and done in April, our contractor started working on this portion of the project on Thursday April 30th. He called me mid-morning to ask if I was OK wit him removing the floor as well, since the joists were all rotted at the connection to the foundation. See these pictures he sent me.
Before the day was over, our contractor called us and shared some pictures with us regarding the state of the foundation. In short, it was in no shape to be used for new construction. We had no provision in the plan to build a new foundation, so the project came to a grinding halt.
Have a look at these pictures and we hope that you’ll come to the same conclusion that these foundation walls were in no shape to be used again.
.
A new roof
We started talking with our contractor about the North Wall project, and we discussed the timing of the roofing, since the North Wall project adds and replaces roof surface. He referred us to a roofing company and due to the timing and logistics, we decided to have the roofer start asap on the steep roof portion.
One of the requirements we had for the roofer is that all of the old shingles had to be recycled. Roofing shingles are used to make asphalt roads. Since our home is not in a metropolitan area, we had to pay significantly extra for the disposal of the roof. All that is worth it to us, since we would like our project to have the lowest impact on the environment.
When the roofer removed the old shingles, he came to the conclusion that he had to re-sheath the roof, because the gaps between the existing roofing boards were too large.
That had some added cost, but it also allowed for some old repair corrections to be made.
In Minnesota you have to use a thicker, frost resistant membrane. Here are some picture of the various stages of the roof install.
The old shingles were brown and that worked with the beige siding of the house. It is our plan to have our house paint color be time-appropriate for when the home was built. We will have a consultant help us with that (another article on this later). We know we want red, white, and blue in the color scheme. So we decided that a blueish grey roof would be the most neutral with these new colors in mind. The shingles we therefore chose are Certainteed Landmark 3D; color: Driftwood.
Here is the final result (until the north wall project gets finished, then there is a lot more roofing to be installed.
The Big North Wall Construction Project (Part 2)
Step 3: Demolishing the garage.
Anne and I had a trip to our vacation home planned for the end of March. Our goal was to get the garage demolished. Knowing that we could not do this on our own, we reached out to the same group of carpentry students that helped us on Day One. Only two of the six could make it, but we ended up getting help from a group of eager, hardworking teenagers and their father/uncle. Within 2 days, the entire garage was demolished, with the debris sorted out; garage door, entrance door, vinyl siding, cedar clapboard siding salvaged, the asphalt shingles separated for recycling, the scrap metal recycled and picked up, and the remainder put into a 30 cubic yard bin. Since we had a third day planned with the students, we ended up getting two interior walls erected, so now we have the living room walls all completed (yea!!)
The Big North Wall Construction Project (Part 1)
Intro:
In the design plans for our vacation home we have a significant change to the north wall garage roof and even a small second floor addition. According to a report by a structural engineering firm we hired, we have a strong enough foundation to support these changes. However, the current wall and roof structure needs to be rebuilt. The garage wall is too low to allow for the new roof line, and was covered with the wrong roofing materials. This caused major leaks over the entire surface and water infiltration into the walls.
The engineering firm suggested adding height to the existing wall, but we (the contractor Anne and I) decided that rebuilding the garage would be a better approach. The contractor will do this particular build, since it requires equipment and contiguous build time which we don’t have.
If you put all of this together, we are looking at a very significant construction effort. We want to do as much as possible ourselves so we took a multiple step approach to this project.
Step 1: Gutting the downstairs bathroom.
We had already gutted the kitchen on day one that we got the keys to the home. But the bathroom had mostly been left intact. Our son Ian and came with us to our vacation home after Christmas, and took great pleasure in taking the bathroom apart while I worked on another section in the house. The only thing left in the bathroom after he was done was the toilet, mostly because it was too cold to try to remove the toilet bowl and preserve it.
Step 2: Fixing the second floor flooring structure.
While Ian was gutting the bathroom, I worked on the guest room ceiling. Once I had removed the lath and plaster ceiling I came to the realization that we needed to prioritize the repair of the ceiling (== second floor flooring) structure. so that the second floor addition would be added to a sound and secure floor.
After a reassessment by the structural engineer and an update to the permit request, we had our contractor re-enforce the walls and put in laminated beams. At the end of January this step of the project was finished.
And yes… more demo
You’d think that at some point we’re done with taking stuff out of the house, but there is still a lot more to do.
The house has two chimneys, one was defunct and partially removed (read: they removed the protuding portion above the roof line.) This one is above on the kitchen/dining room side of the house. Anne and I decided that we should tackle the removal of this old chimney the day after Christmas.
Oh what fun was that! The chimney portion upstairs was covered with some wood paneling (yes, they sure liked using paneling in our house). The chimney bricks were so loose, that we used the backs of our axes to tap them loose and then we used the cutting side of the axe to scrape off the mortar. This process went extremely fast, it took us (in two sessions) about 4 hours to get the entire chimney removed and the bricks cleaned off.
We took some cool videos of the action and we’ll post these soon.
Anne went back to California on the 29th. Our son Ian and I stayed behind in MN for a few more days and Ian and I ended up working together in doing some major demo downstairs. Basically the plan was to take the North wall and roof down. Ian and I worked extremely hard in cleaning off the inside, such that we would be ready the next day to take down the wall and roof.
What we did was:

– Ian took out all of the downstairs bathroom, except for the toilet bowl (to avoid the open sewer drain) He worked very hard and it was fun to work side-by-side with him.

– I worked on cleaning off the ceiling in the downstairs space that will become the guest bedroom. It was still covered with lath and plaster.

– We both spent a lot of time doing the small removals as well. All of the downstairs walls are now down to the studs. We also removed as many of the studs we could, without making the structure unsafe.
The next day, Ian was not really into it and after an early lunch I dropped him back off at my in-laws. I went back and continued the work. My goal changed that morning from demo of the north wall and roof to making sure that the house was ready for our contractor to do all of the inside work later in January.
I will write a separate post about all the incredibly bad prior remodel construction we found over the past demo.