Category Archives: Uncategorized

A rare 2-week trip to work on the house – Day 1

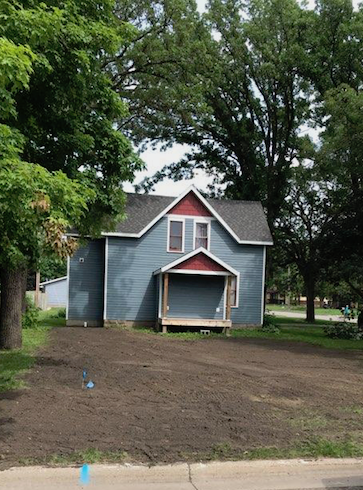
This will be the first post describing the work I am doing at the house for a period of 2 weeks. I am here with a friend from California, the rest of the family stayed home this time.

It is April 10, the first full day at the house. This day was mostly about organizing the house and garage, such that the upstairs can be gutted.

Steps included:

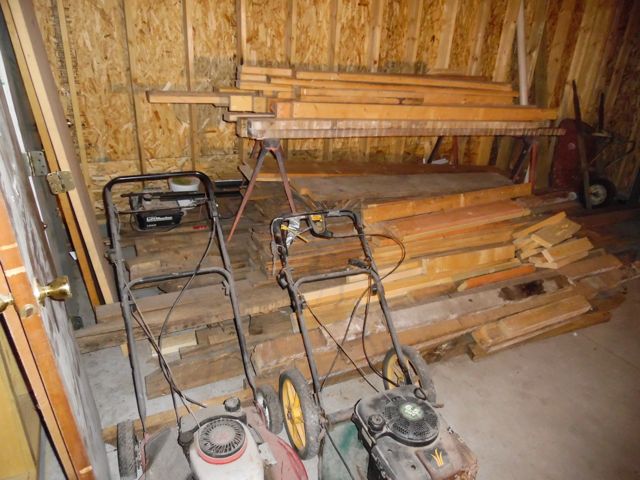
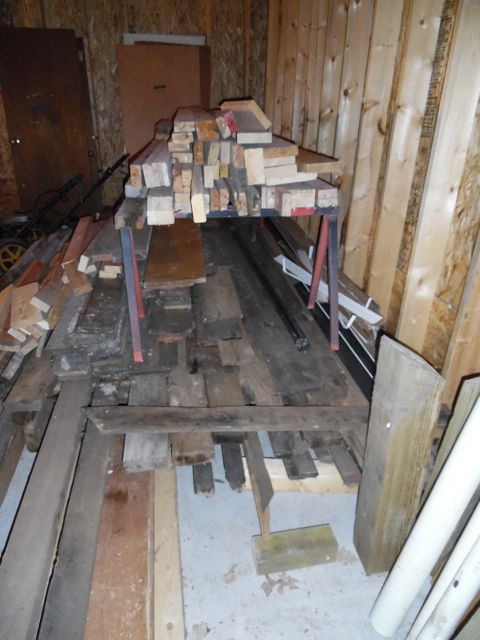
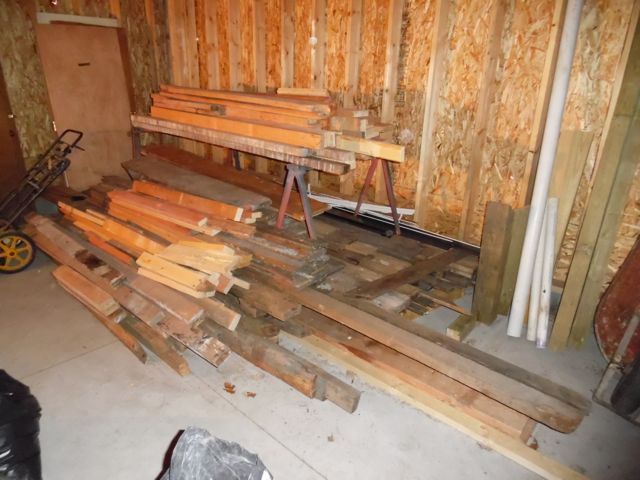
  • Reorganize the garage for our tools and to setup a workshop.
  • Unload a U-haul ubox with stuff from California.
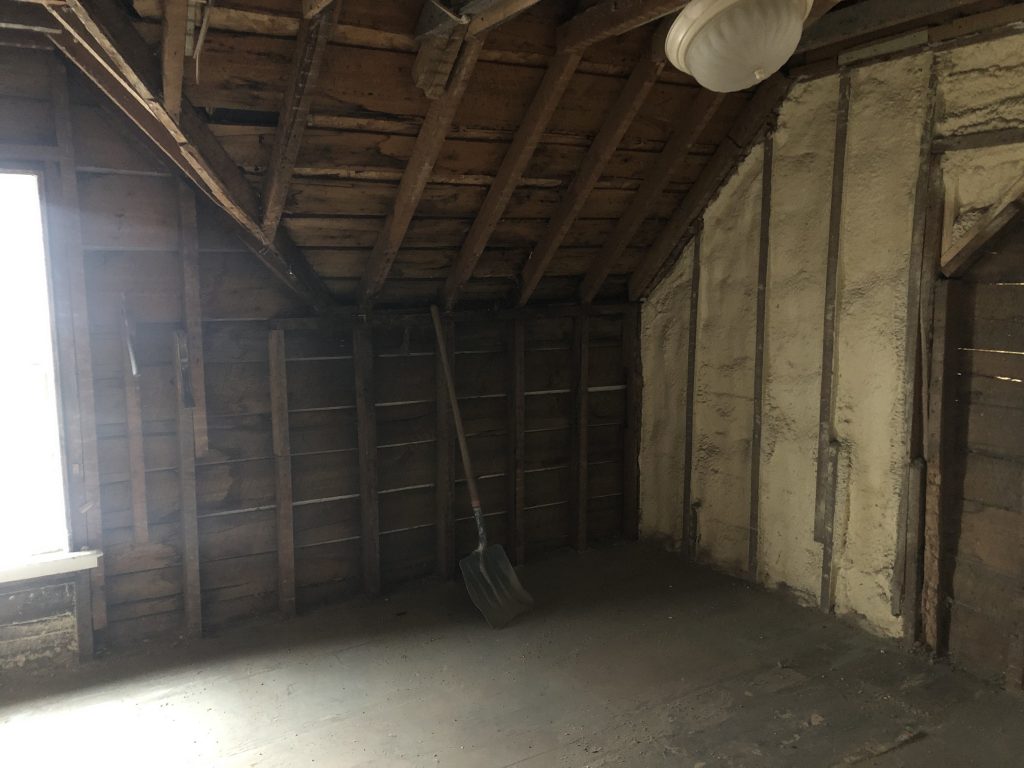
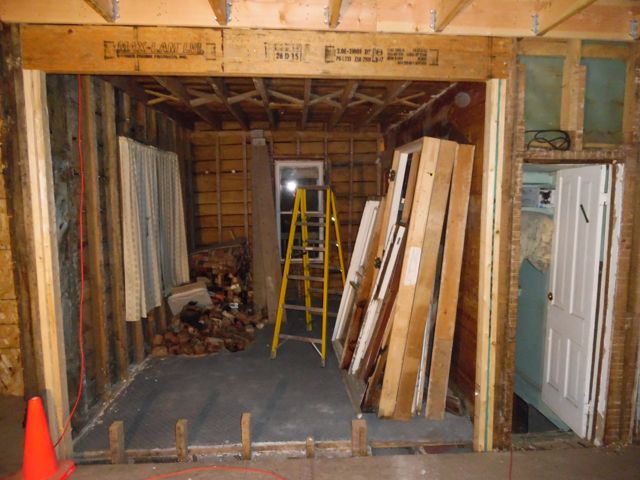
  • Bring all the large and loose items from the upstairs, downstairs.
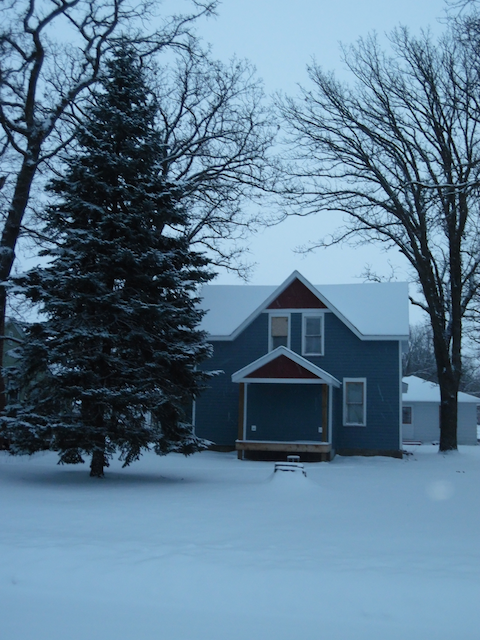
  • Drop off the ubox before the Blizzard hits (yes it is April, but there are no guarantees surrounding the weather here in Minnesota.)

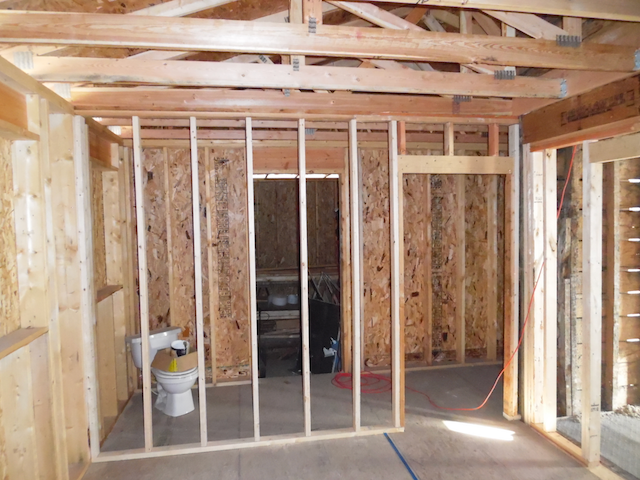
The downstairs is now very crowded and will likely need a bunch of shuffling of stuff, but at least we have the upstairs cleared to be gutted.

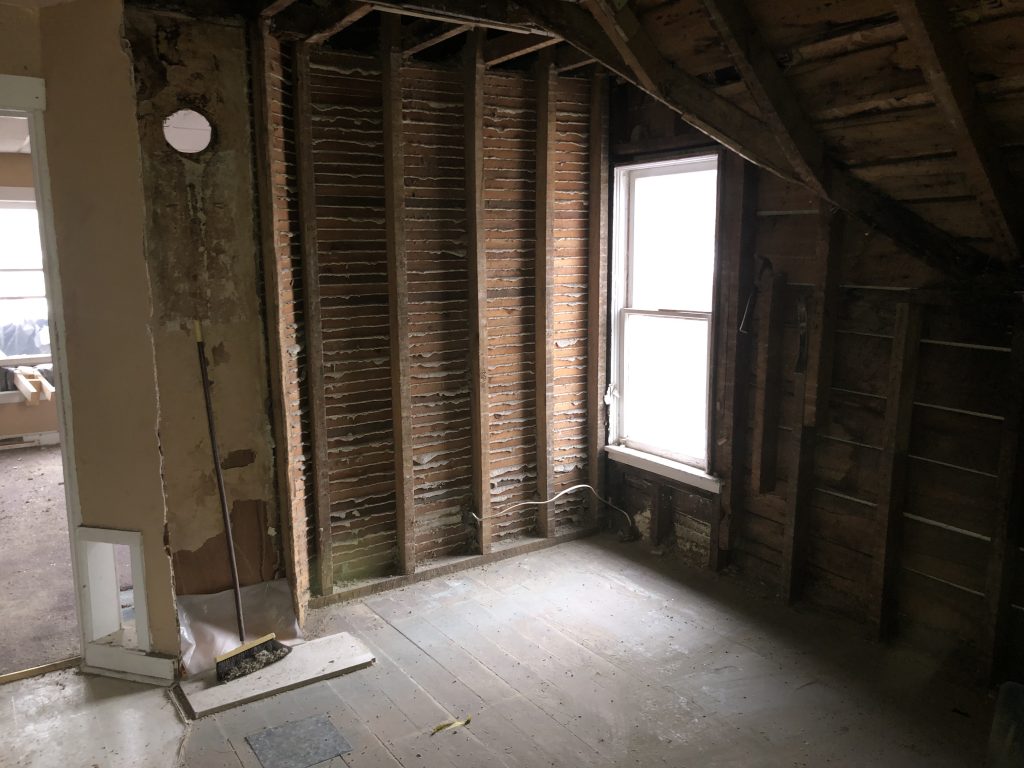
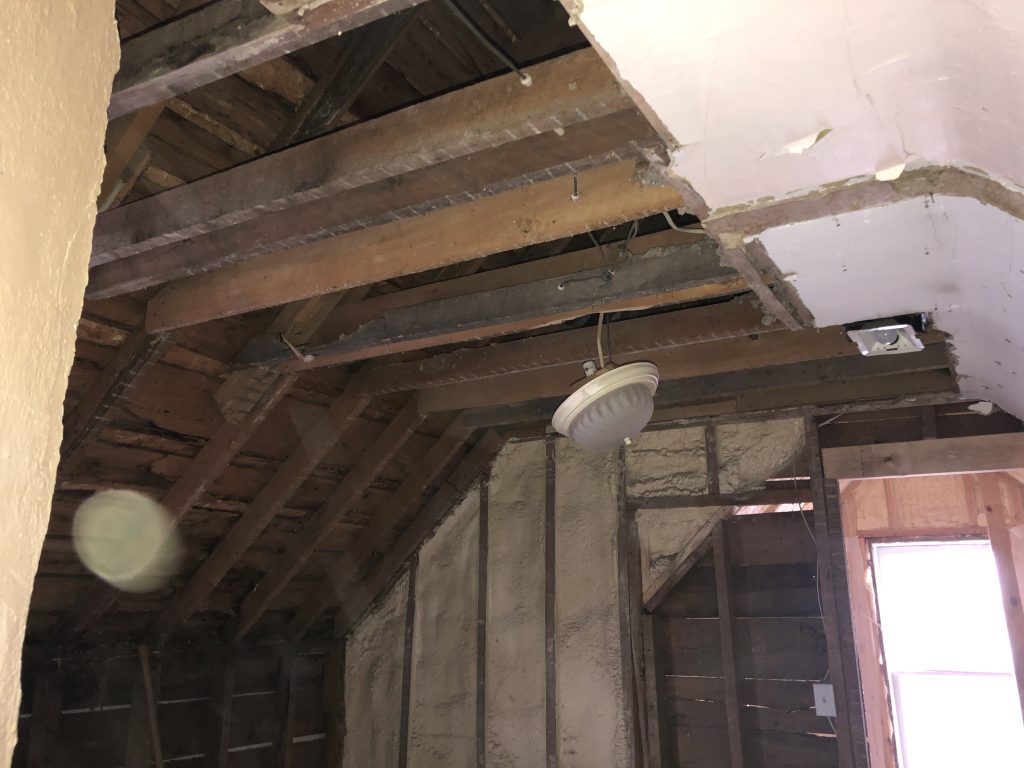
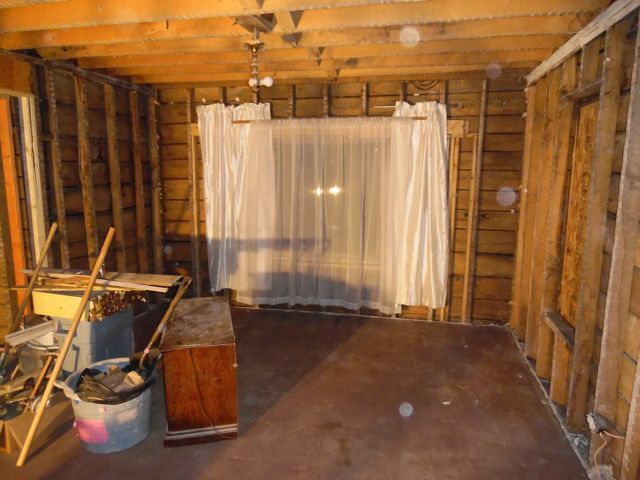
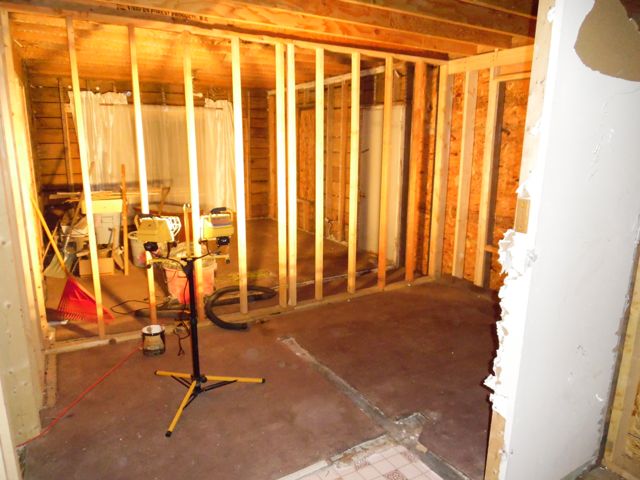
My friend was able to get a head start on the gutting work, while I was driving 2 1/2 hours total to drop off the ubox.

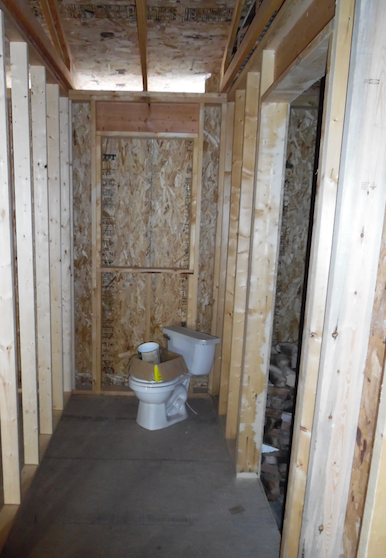
I was able to join the demolition fun in the later half of the afternoon. The end-result for the day was.

West wall, gutted.
This wall will be gone by tomorrow.
The ceiling is mostly gutted, a small area left to complete.

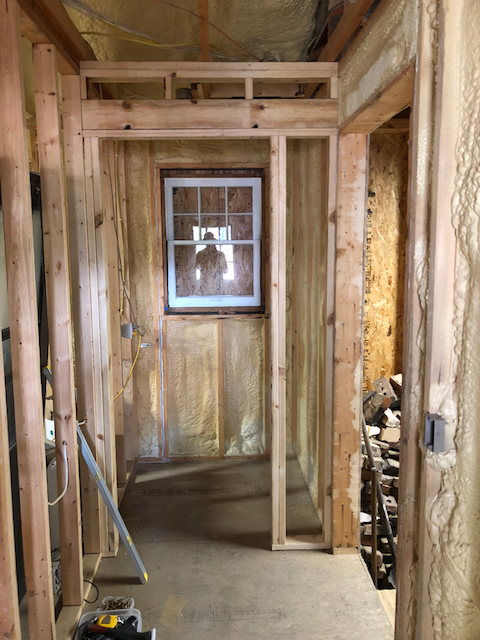
We needed a way to get the debris from the second floor into the dumpster. After watching a brilliant idea on YouTube, I bought a 12’ Long 20-inch diameter concrete mold-tube. I rigged a mount on one side and mounted it on the window sill of the south wall.

The tube is covered with a tarp to protect it from the upcoming blizzard.

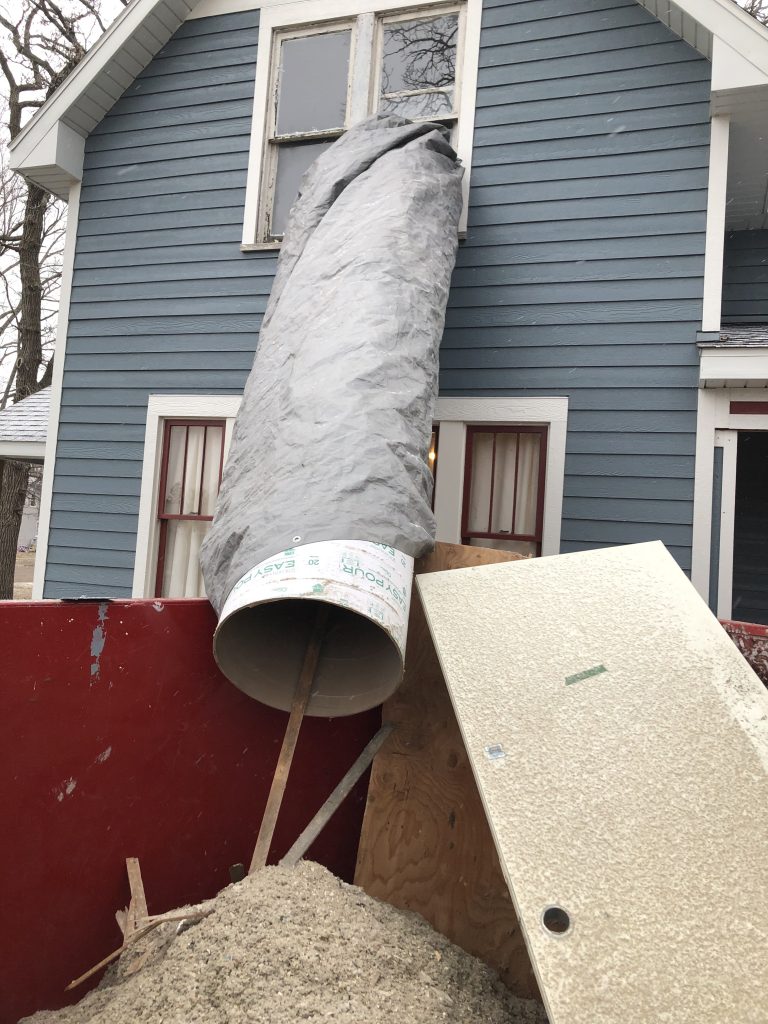
This tube works brilliantly. No need to drag bags of debris down the stairs. The only thing to do regularly is to pull the debris from below the tube-end to the other side of the dumpster.

Catching up

It has been a long while since the site got updated content. This does not mean that the work at the house has been halted, there was just no time set aside to update this website. So, instead of trying to recreate the stages of development, it is probably easier to show the current status.

Outside of the house, a couple of changes:

The door on the south-side porch was repaired and painted.

Before

After

The breezeway door is installed and siding finished

Before

After

Trim on south porch

Before

After

Landscape changes

The elm tree on the south side of the house was nearly dead and had become an eyesore. So we had it removed.

The water and sewer connections to the street had to be replaced, which forced the removal of the beautiful spruce tree on the west side of the house. This also took care of the stump that was left behind when the dead tree in front of the house was cut down, way in the beginning of this project.

Before

After

Inside the house

The layout of the downstairs is fully framed. The powder room and breezeway have walls.

before

After

Before

After

The guest bedroom and bathroom had some updates as well. The guest bedroom has a door and the bathroom has walls, and even has drywall (not yet taped) in anticipation of the plumbing installation. No before pictures, just a few in-progress ones.

The West-side porch currently has no windows or doors, but progress is made on changing that.

The windows are made, using reclaimed shiplap boards and two prairie-style window-sashes that were purchased a few years ago.

Since the porch will get a Dutch theme, a dutch door was purchased. The characteristic of a dutch door, is that the top can be opened without opening the bottom part of the door. It is a massive door (42-inch wide) and a bit bland in comparison to the south-side porch door. The plan is to modify the door during the next trip up there. Here are the pictures of the door as it is today.

Window repair and refinishing

After a long hiatus, I was able to take a full week to work on the house. The goal of this trip was to get as much window work done as possible.

Here is a quick overview picture of a double-hung window with the terminology.


Let’s go over the work that needed to be done:

  • All the original windows in the house had many layers of old (and cracked) paint that needed to be stripped.
  • Most of the window sills had various levels of damage due to wood rot. All of the rot had to be removed and replaced with wood filler.
  • Two window sashes had structural issues that needed to be addressed (the bottoms of these sashes had become loose).
  • All of the windows needed to be reglazed.
  • To improve the performance of the windows, Anne and I had decided to turn all the double hung windows into single hung. (that means that the upper sashes are now officially no longer able to slide up and down).
  • After all of the paint stripping and repair work was done, the windows had to be primed and painted.

Here is an example of the stages of repair of the window on the kenwood street side of the house

This window had a broken pane in the lower sash. A loose bottom rail of the upper sash.

It had about 5 layers of old paint on the upper sash and frame.

It also had a number of rotted spots in the window sill.


This picture shows the stage where all the repair is completed. A new pane in the lower sash. Repaired upper sash. Both panes have new glazing. All of the old paint has been removed.

The sill has a couple of wood-filler patches.

This last picture shows the final repainted result. All the gaps and seems caulked.

The color scheme is that the sashes are painted in the same red color as the gable tops (DiamondKote: Cinnabar)

And the frame is the same white as the window trim (DiamondKote: White)


Here are the before and after pictures for the first floor. The second floor repairs will have to wait until the next trip. Our special thanks to our son and our nephew who helped stripping paint, priming, and even helped apply the first coat of white paint on the living room (large panoramic) window.


New Siding

At the beginning of June our contractor started installing the siding. To complete that project he also had to build the side porch.

Before getting into the steps of the project, let’s go over the project details:

  • We are removing all of the old vinyl and cedar lap siding.
  • We will replace it with LP Smartside products. LP Smartside is a pre-primed product that has to be painted prior to installation.
  • We chose DiamondKote in part because this company also carries a special type of LP Smartside product, where they modify the standard shingle siding to have octagonal edges.
  • The colors we chose are: Mountain Lake for the lap siding, White for the trim, and Cinnabar for the shingle siding.
  • These colors are also true to the color choices of the early 1900’s. See this color chart which we found on: http://oldhousecolors.com/
    The colors: Light Gray and Brick Red are very close to the colors we chose for the siding.

The siding project started by removing the old vinyl and original wood siding. Once that got removed, the house has to be wrapped. This is partially a vapor barrier and a vapor guide if any condensation gets behind the siding, this wrap will guide the water down, away from the wall sheathing.

HouseWrapped - 1 HouseWrapped - 2

After the house was wrapped, the next stage was to install the new siding. In reality some of this work was done in parallel, since there was a decent size crew working on this project during the first 2 weeks.


HouseSided - 1
The garage has the most prominent use of the red shingles and the white trim. It also shows off the horizontal soffits and ‘blocked’ facade.

HouseSided - 4
To the observant eye, you may have noticed a lack of windows on the backside of the house. Do not worry, we have windows planned, but since we use salvaged materials, we need to build the window frames so that we can place them into the framing.

HouseSided - 2
The new addition now has a window. Our contractor reinstalled a fully framed window that came from the original (recessed) gable.

HouseSided - 3
What is this front porch missing? Yes, a door! We have not found the right door yet. We know what we want though: A dutch door (one that opens up in two sections).
HouseSided - 5

HouseSided-9 - 1 (1)
Notice that the windows still need to be repaired and painted. That is next on our list. Especially since they now stick out like a sore thumb,

HouseSided - 6
This is the new side porch. Our contractor did an awesome job (again). Once we have re-graded the grounds around the house, we will get steps built.

HouseSided-8 - 1
Detail shot of the soffits around the porch and the old roof.

HouseSided - 1 (1)
This picture shows off the red, white, and blue. The color scheme we had chosen for this house.

North Wall project – On-Site visit (4)

Monday was a lllooonnnggg day. I woke up early and was on-site at around 7:15. Today was a full day, There were two major appointments on the calendar:

City Building inspector’s visit at 8:30am to give us the green light on the next stage.

Contractor’s visit for the spray foam insulation at 10am, which had to be postposed to noon due to a slight mishap with the trailer.

The framing and roofing inspection was anti-climactic. The work done by my contractors was excellent and the inspector agreed. So that got signed off.

And the meeting with the insulation contractor was very educational as well as a reminder as to how much insulation will have to be done. It is so easy to forget those little details (like floor insulation). I am both looking forward to the quote, but not looking forward to how much it is going to cost.

Besides the two appointments, my father-in-law and I dumped the trailer load first thing after the inspection. As I mentioned we had a slight mishap. The right trailer tire blew while the trailer was fully loaded. No damage (other than the tire, that one got shredded), so with about a 1-hour delay (take tire off, drive to store, get new tire, drive back, put tire on, pull trailer out of the ditch) we got to the dump.

Right after we finished the first dump, we went back to the house and loaded the trailer with the stuff I had put together early in the morning, prior to the inspection. We also took all of the wood that was stacked up on the ‘crooked porch’. We just finished loading the trailer and then the insulation contractor showed up (perfect timing).

After that meeting, my father-in-law and I dumped the second trailer load at the dump and went back to my in-law’s home. After a hearty meal I went back to the house and worked from about 3pm-9pm and here are the pictures I took then.

MondayNightStatus8
The stack of sorted and de-nailed wood

MondayNightStatus6
Different view of the same wood stack

MondayNightStatus5
Can you tell I am proud of the wood stack 🙂 This is the last one, I promise!

MondayNightStatus4
Dining room now has the original doors we’re going to keep.

MondayNightStatus1
Living room is ready for folks to work on the walls (electrical and insulation)

MondayNightStatus2
Guest room is empty

MondayNightStatus3
And so is the new portion of the house.

North Wall project – On-Site visit (3)

On Sunday the main accomplishment was that I got all of the wood from the front yard stacked up in the garage or, if the wood was too nail infested or simply too warped/cracked/rotted to keep, we put it in the trailer and we are going to bring it to the dump tomorrow (Monday)

This is what the front yard of the house looks like now.