All posts by ebisek

And yes… more demo

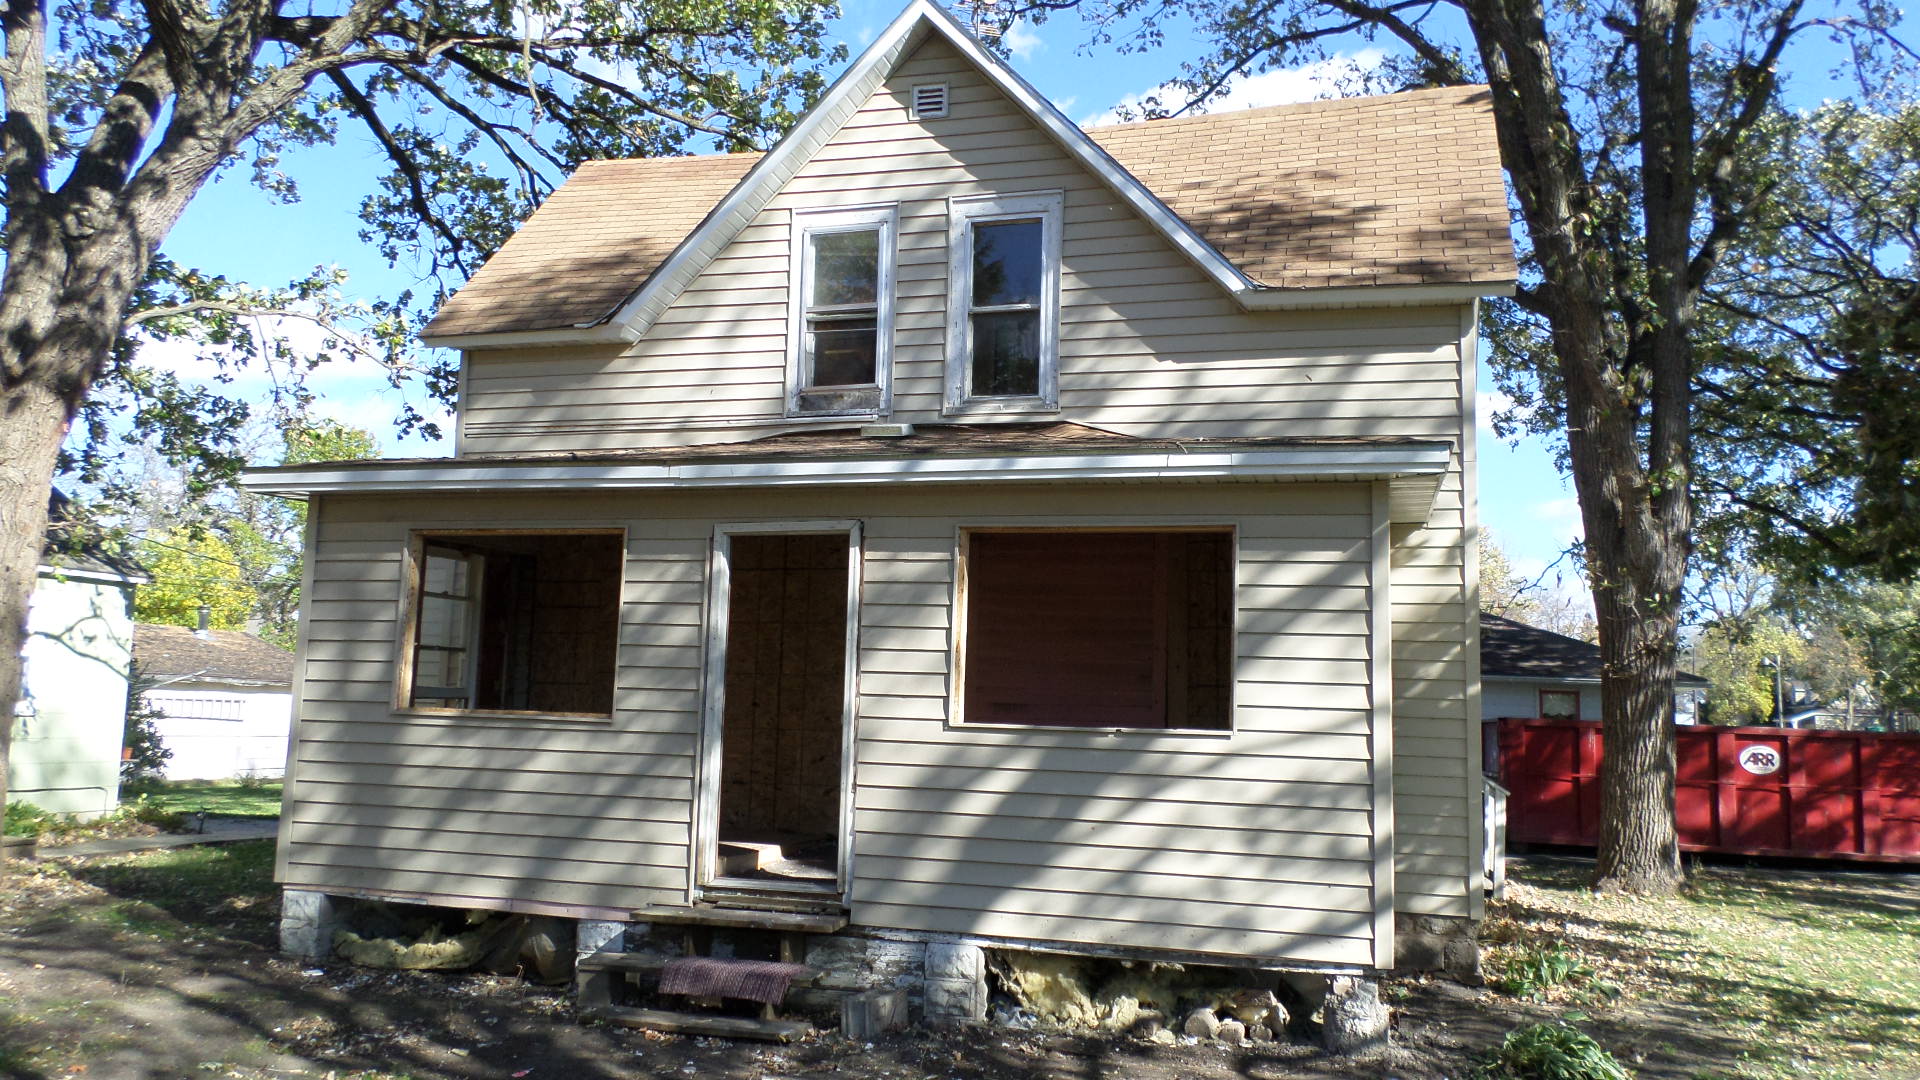
You’d think that at some point we’re done with taking stuff out of the house, but there is still a lot more to do.

The house has two chimneys, one was defunct and partially removed (read: they removed the protuding portion above the roof line.)  This one is above on the kitchen/dining room side of the house. Anne and I decided that we should tackle the removal of this old chimney the day after Christmas.

Oh what fun was that! The chimney portion upstairs was covered with some wood paneling (yes, they sure liked using paneling in our house). The chimney bricks were so loose, that we used the backs of our axes to tap them loose and then we used the cutting side of the axe to scrape off the mortar. This process went extremely fast, it took us (in two sessions) about 4 hours to get the entire chimney removed and the bricks cleaned off.

We took some cool videos of the action and we’ll post these soon.

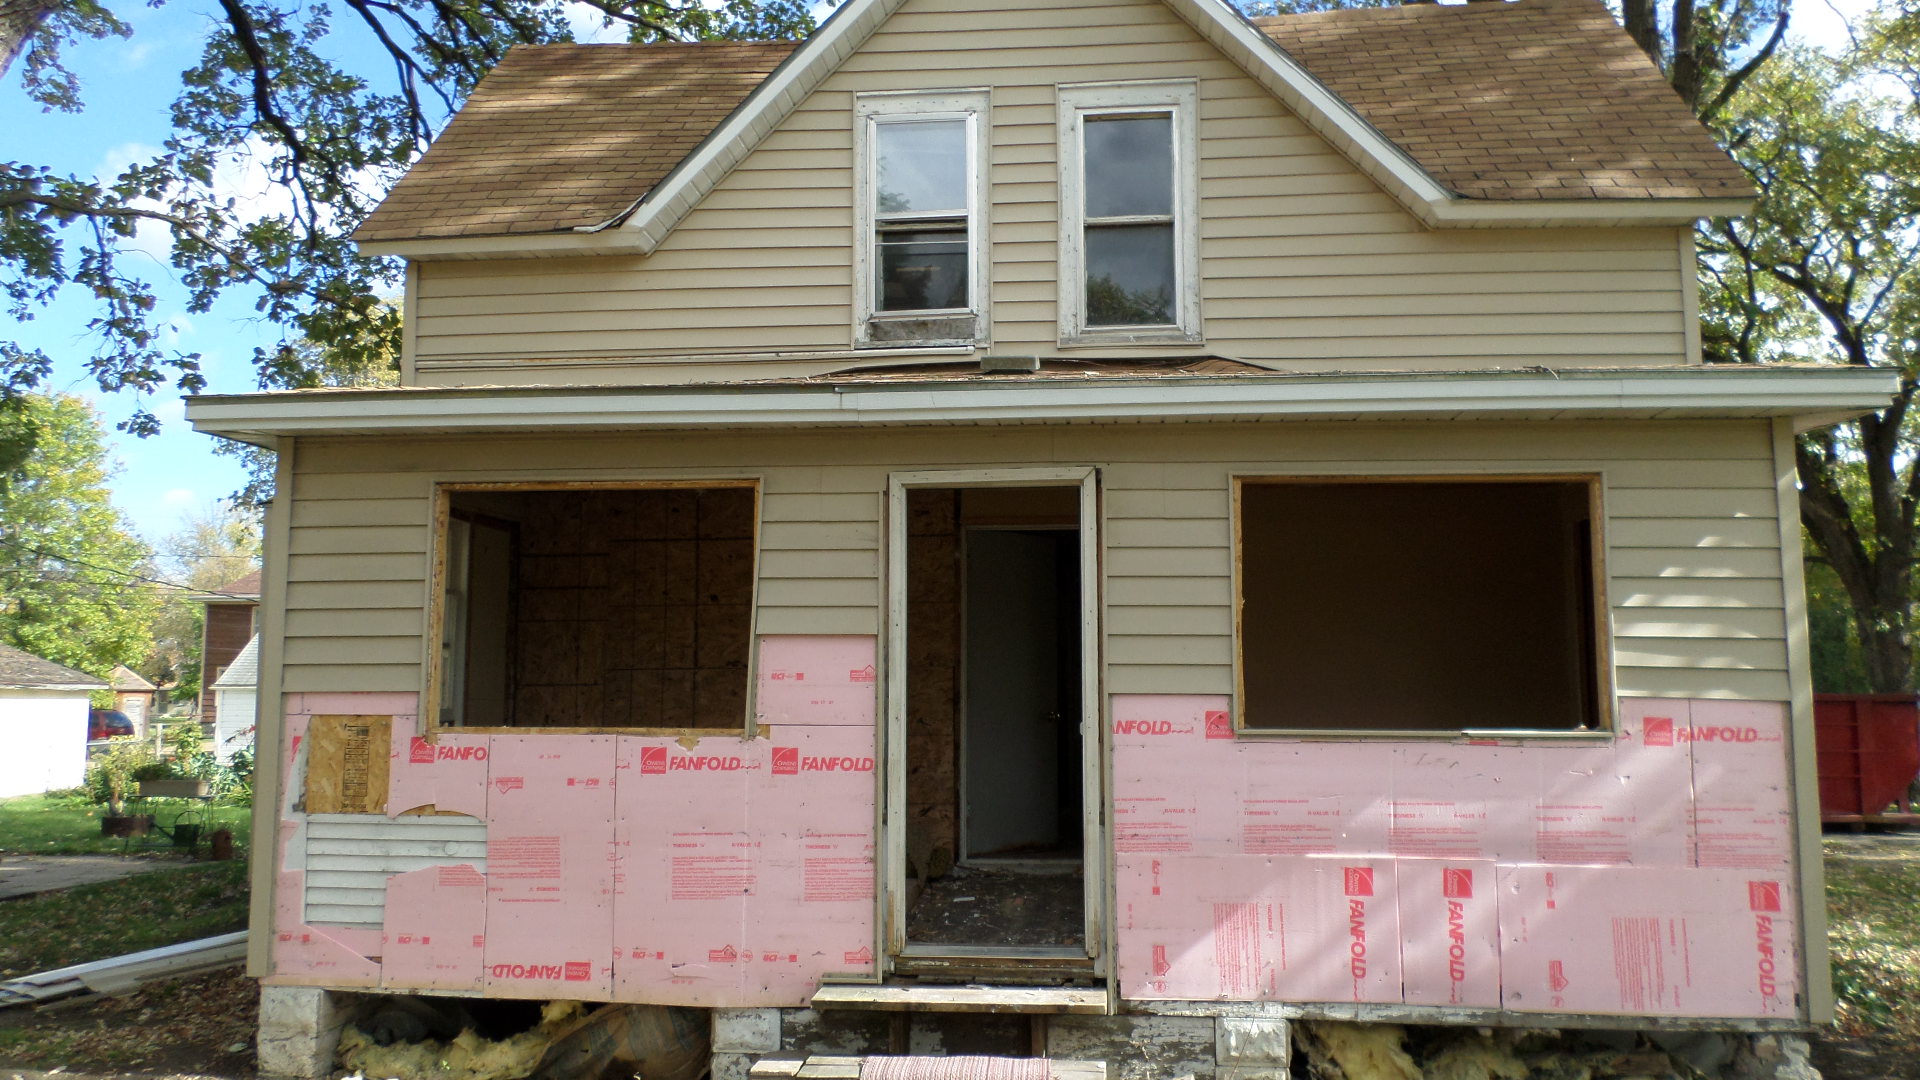
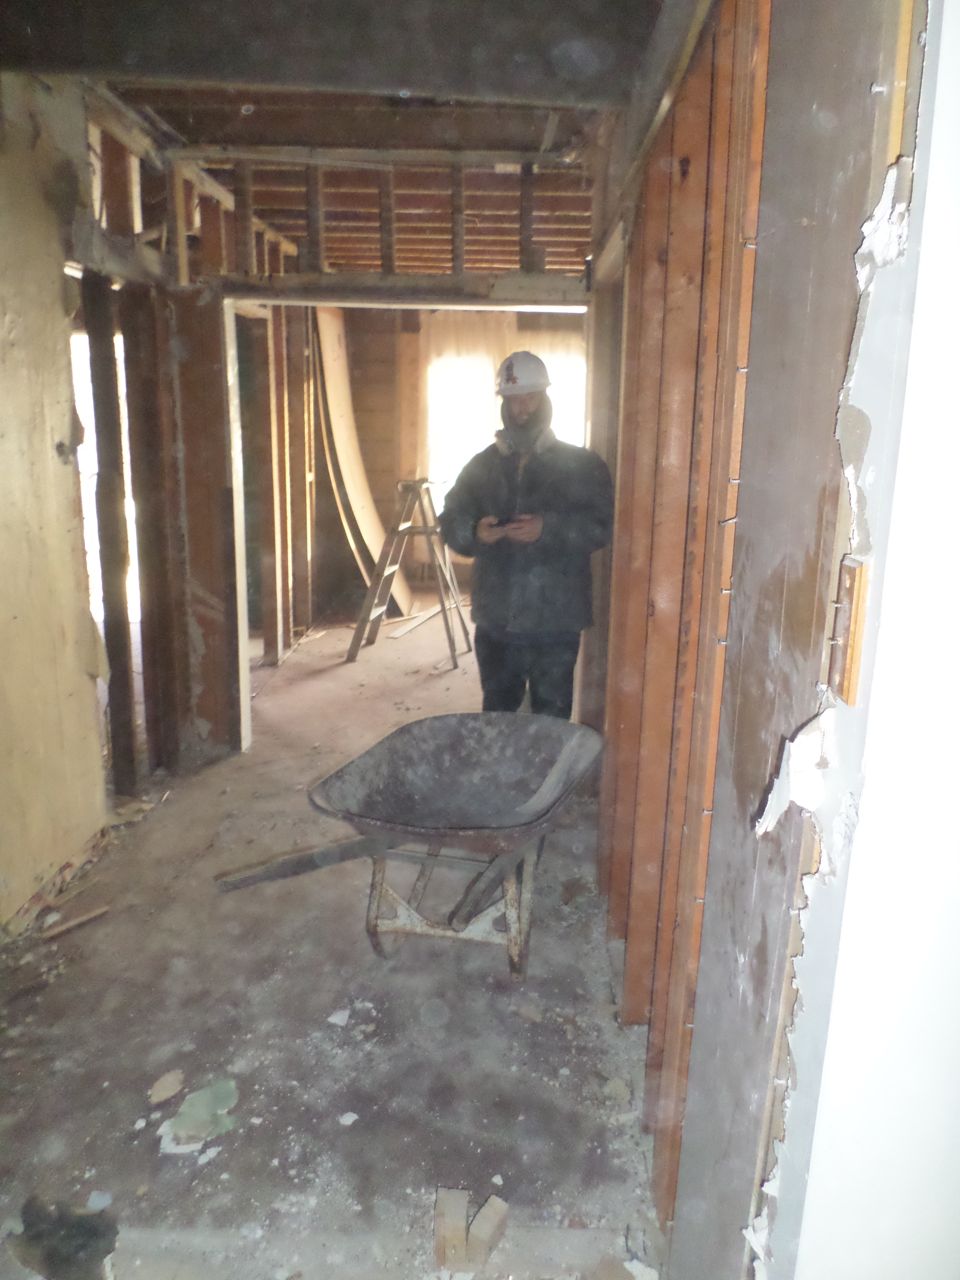
Anne went back to California on the 29th. Our son Ian and I stayed behind in MN for a few more days and Ian and I ended up working together in doing some major demo downstairs. Basically the plan was to take the North wall and roof down. Ian and I worked extremely hard in cleaning off the inside, such that we would be ready the next day to take down the wall and roof.

What we did was:

SAMSUNG CAMERA PICTURES
Ian is helping us with the demo.

– Ian took out all of the downstairs bathroom, except for the toilet bowl (to avoid the open sewer drain) He worked very hard and it was fun to work side-by-side with him.

Ian's handiwork
Ian’s handiwork

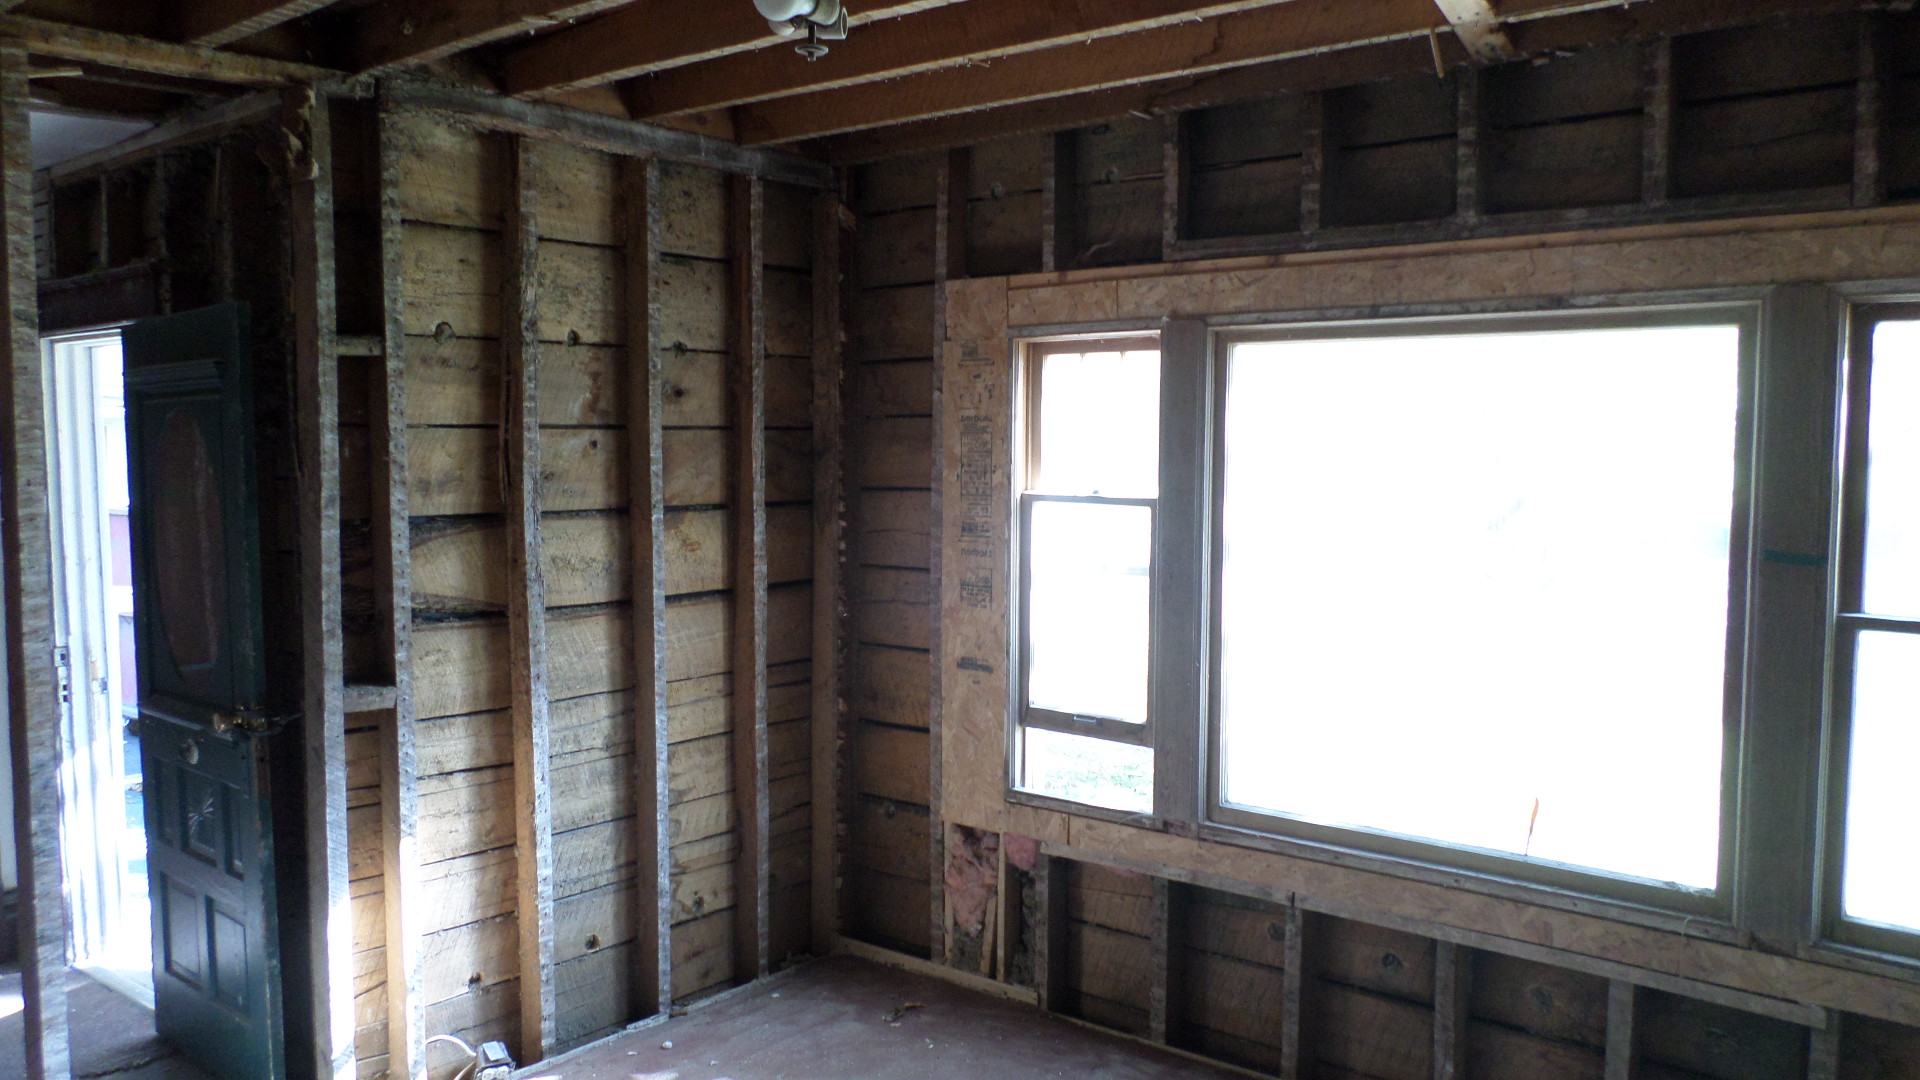
– I worked on cleaning off the ceiling in the downstairs space that will become the guest bedroom. It was still covered with lath and plaster.

SAMSUNG CAMERA PICTURES
Guest bedroom ceiling cleaned off

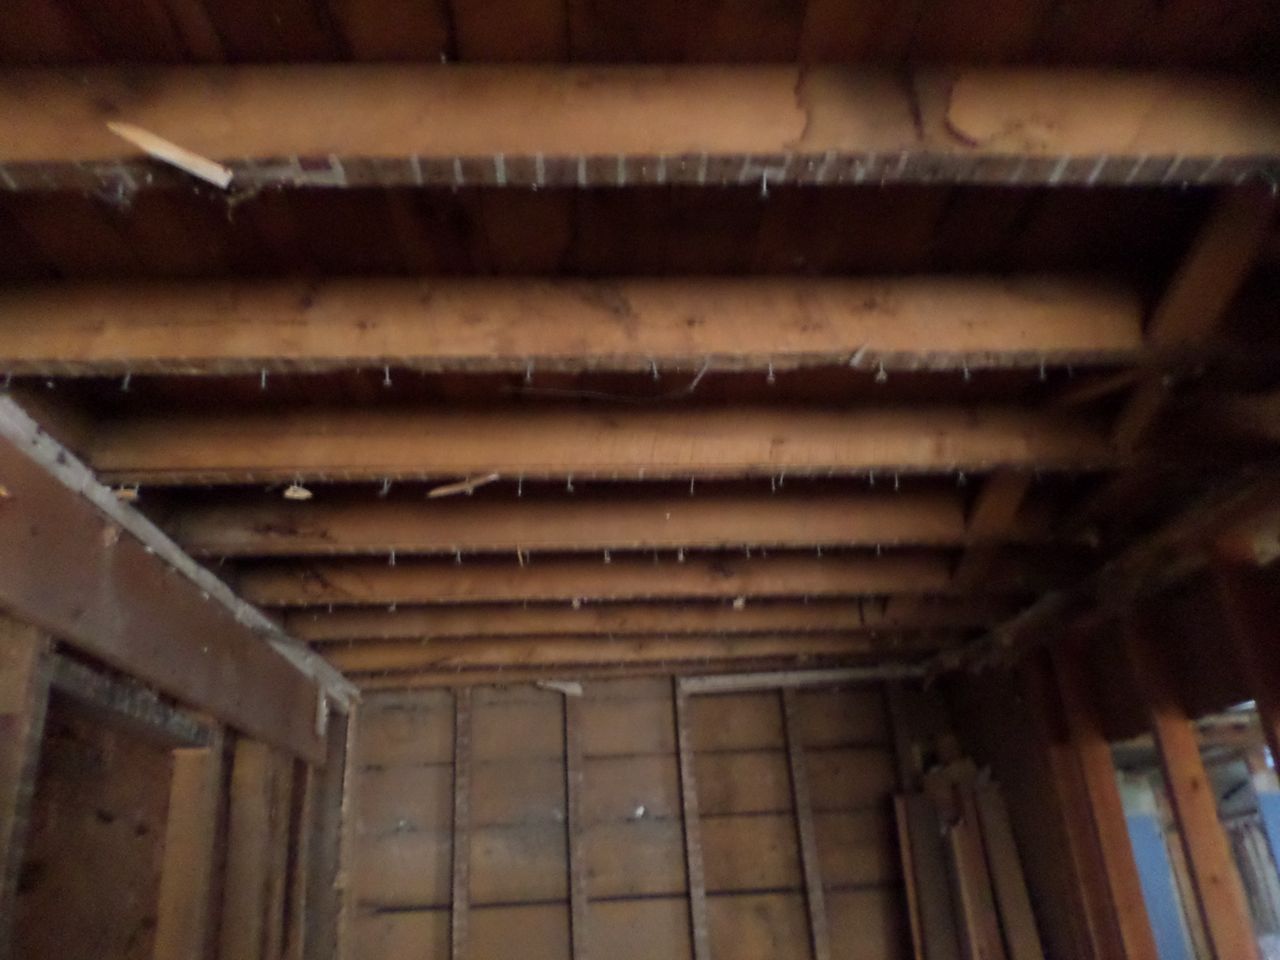
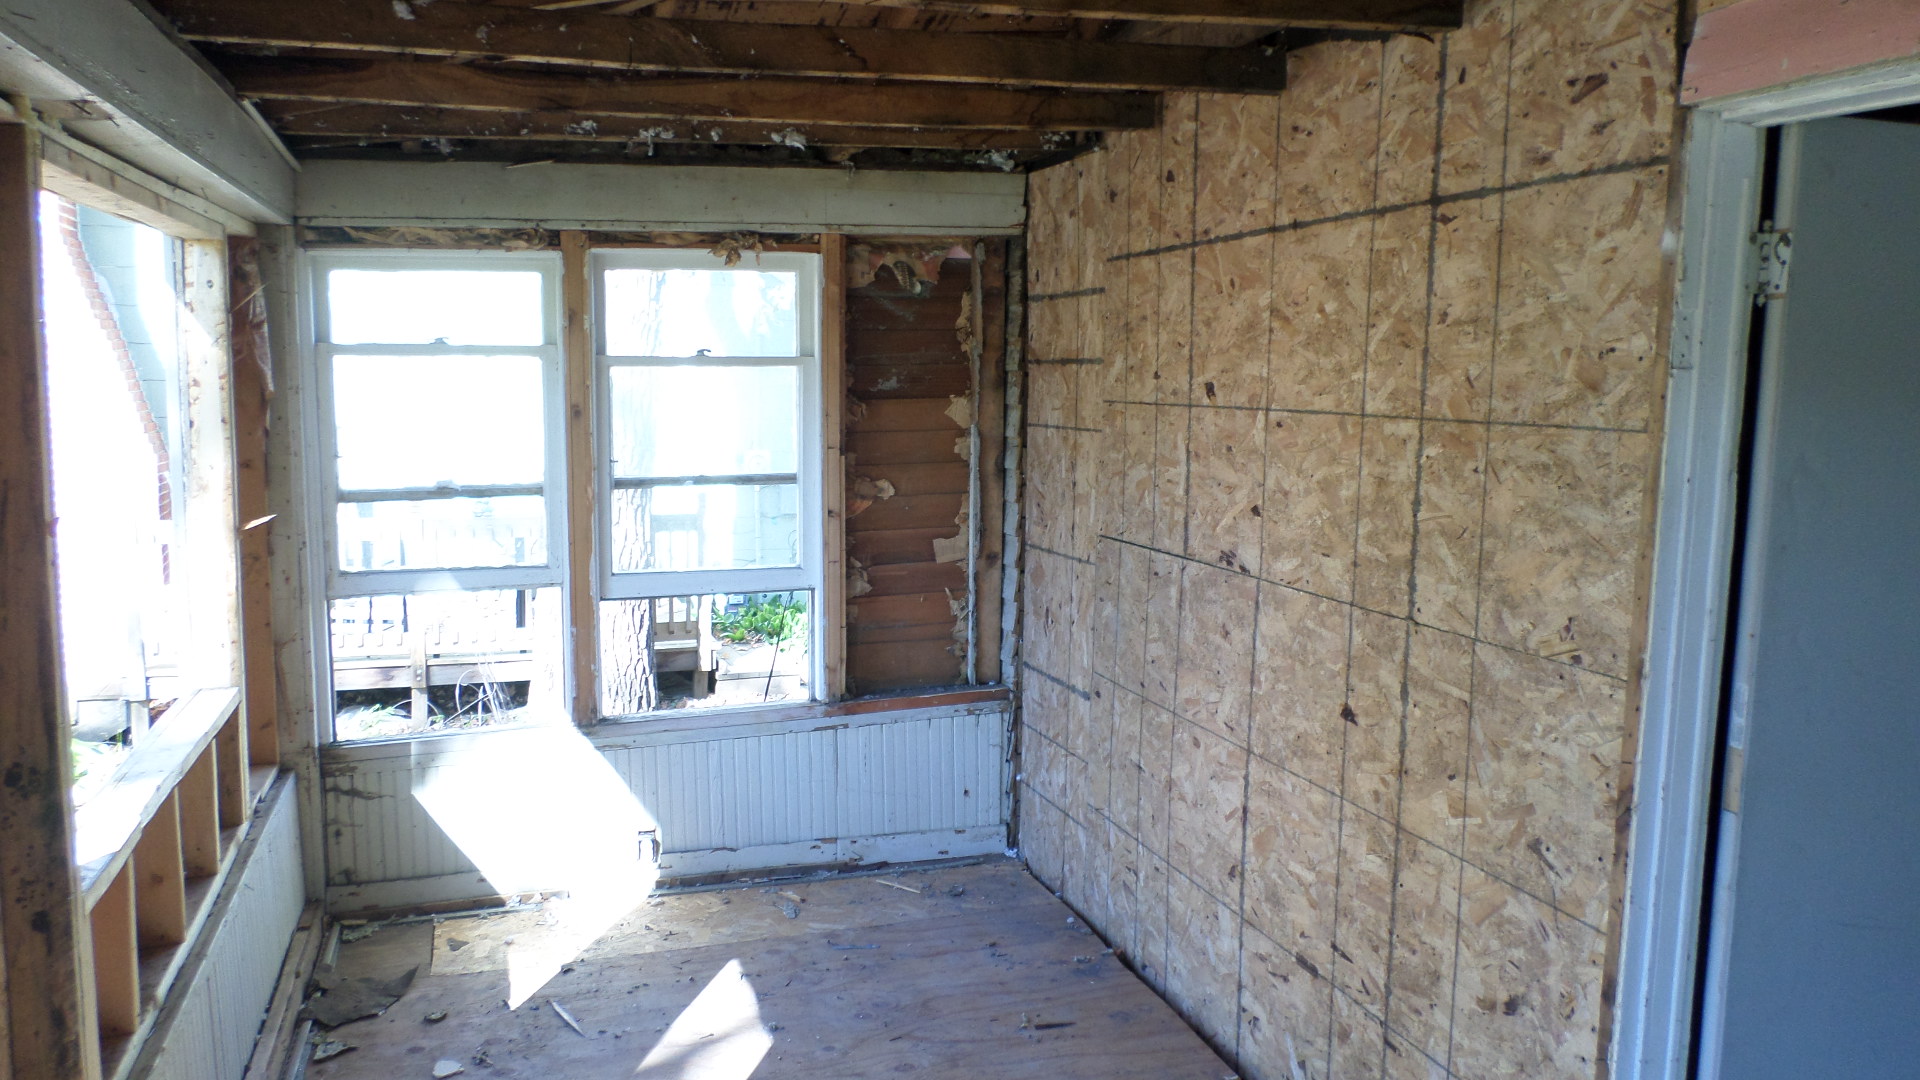
– We both spent a lot of time doing the small removals as well. All of the downstairs walls are now down to the studs. We also removed as many of the studs we could, without making the structure unsafe.

The next day, Ian was not really into it and after an early lunch I dropped him back off at my in-laws. I went back and continued the work. My goal changed that morning from demo of the north wall and roof to making sure that the house was ready for our contractor to do all of the inside work later in January.

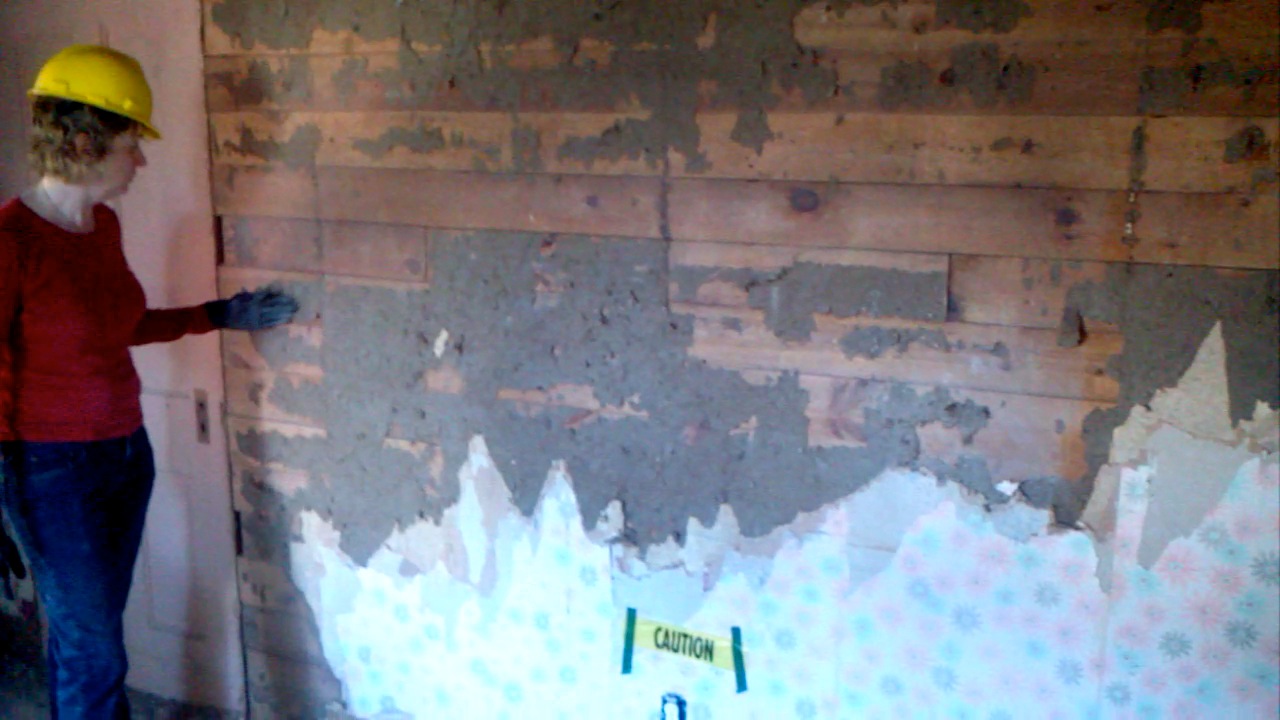
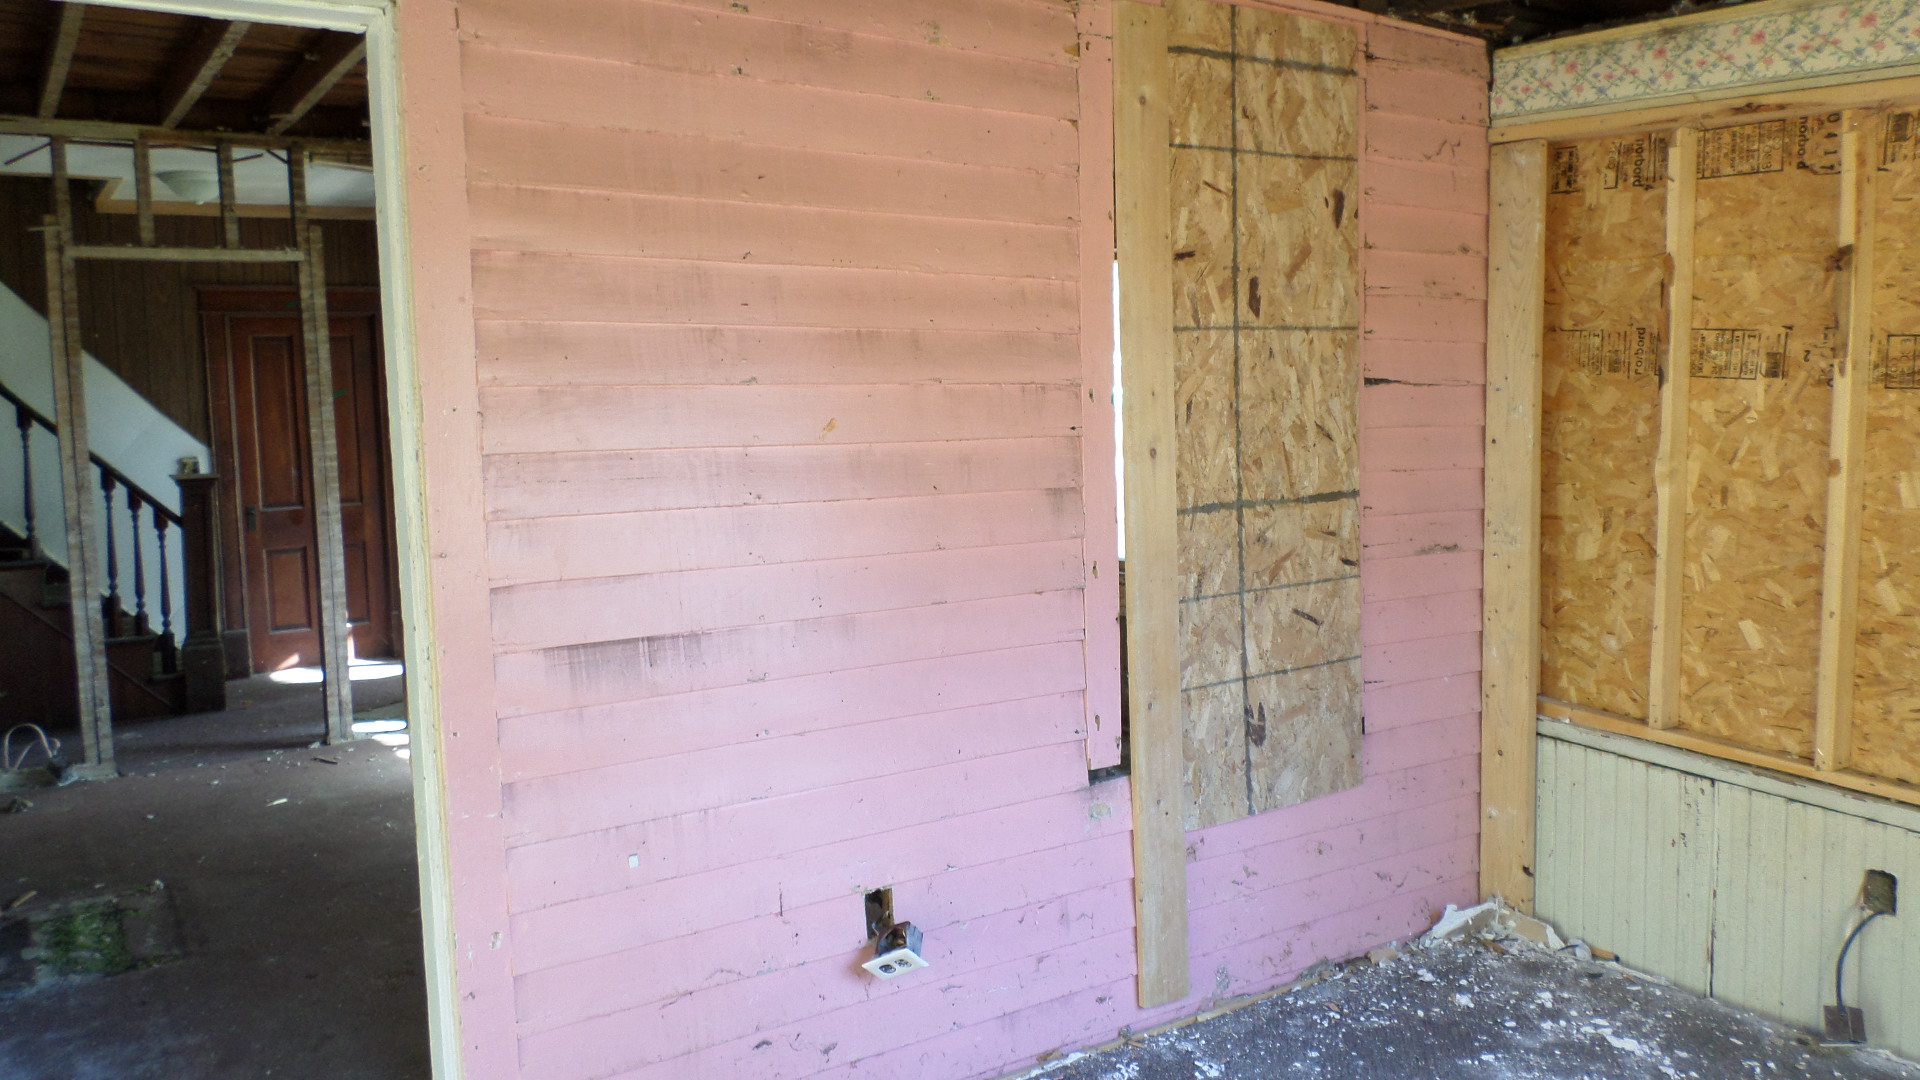
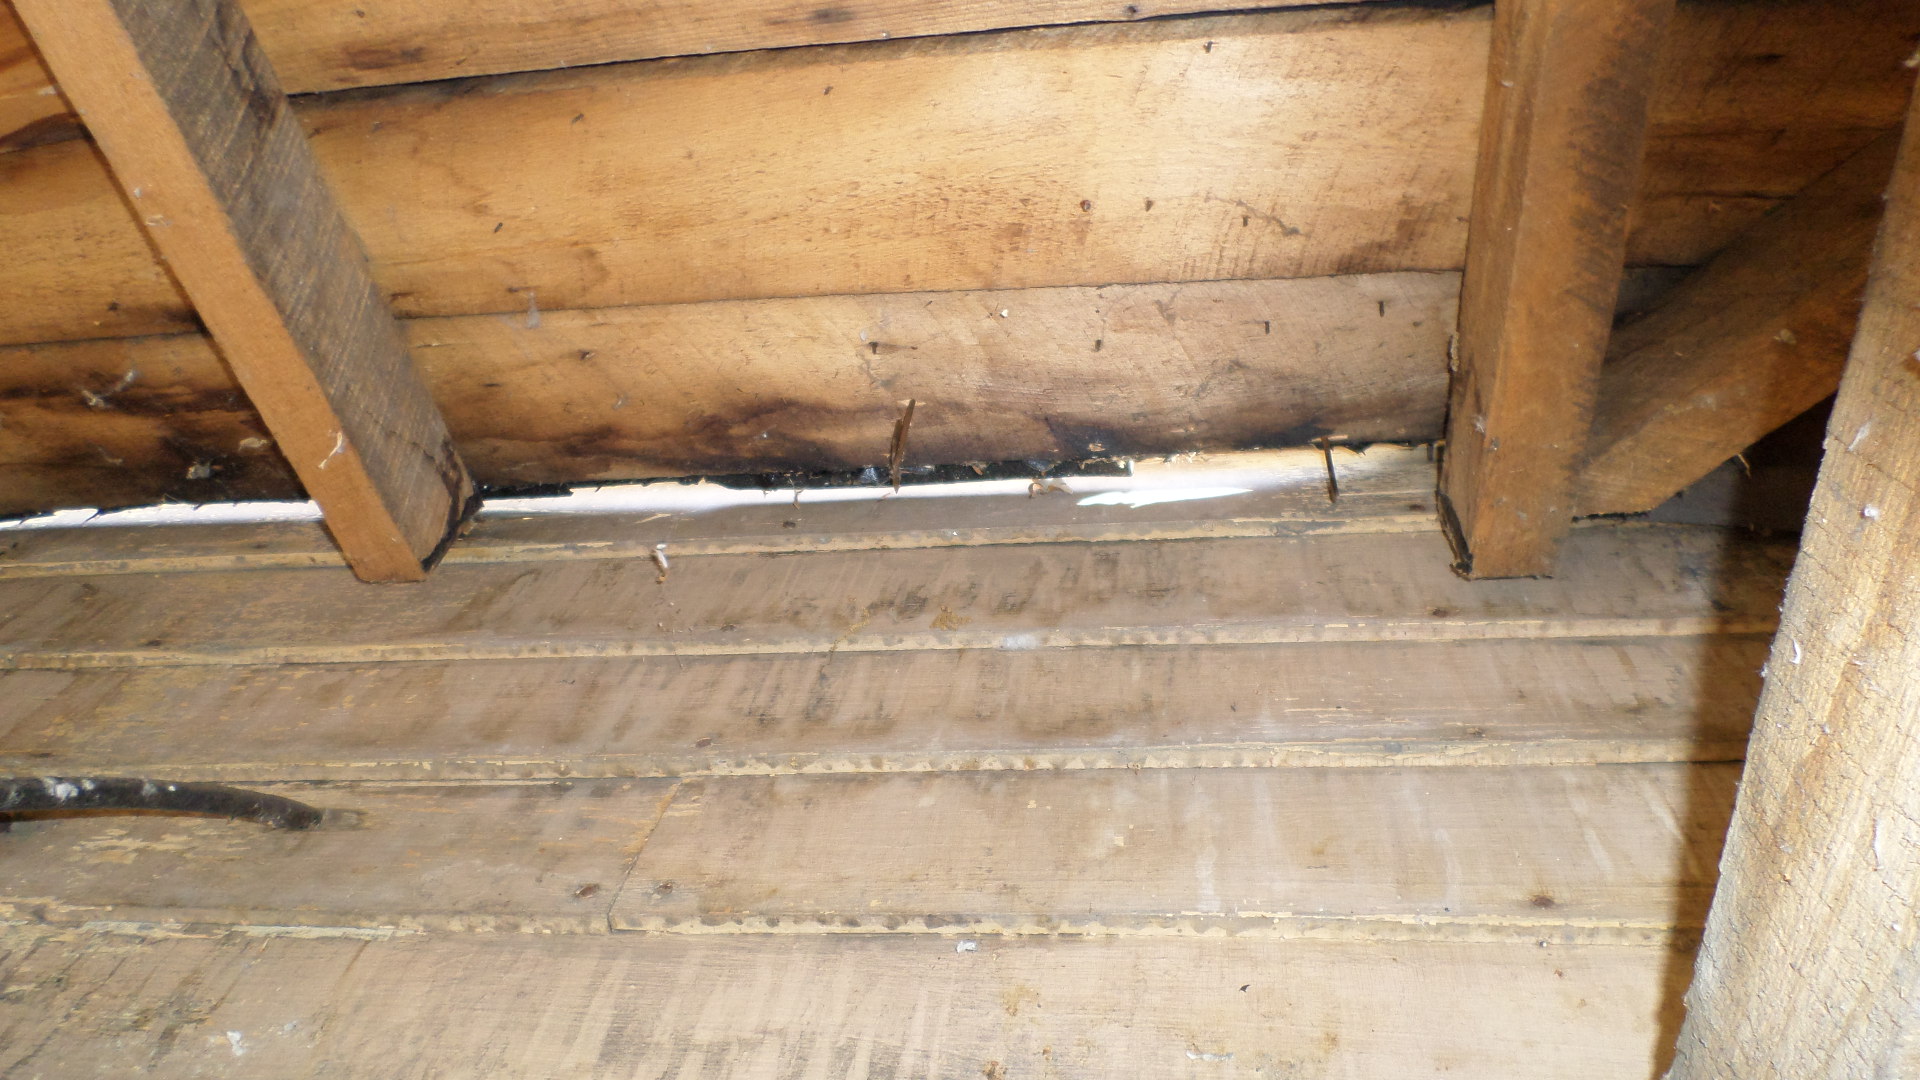
I will write a separate post about all the incredibly bad prior remodel construction we found over the past demo.

What gave us knowledge and inspiration

A series published by The Taunton Press:

  • All New Bathroom Idea Book by Sandra Soria.
  • Creating a New Old House, Yesterday’s Character for Today’s Home, by Russell Versaci with Photgraphs by Erik Kvalsvik.
  • New Rooms for Old Houses, Beautiful Additions for the Traditional Home, by Frank Shirley.
  • Renovating Old Houses, Bringing New Life to Vintage Homes by George Nash.

Our friends Dave and Cher Larson, and Marji Karlgaaurd loaned us some of Sarah Susanka’s books even before we bought our vacation home.  Anne read these cover to cover; thank you friends!

  • Creating the Not so Big House with photographs by Grey Crawford.
  • Home by Design, Transforming Your House into Home.
  • Outside the Not so Big House, creating the Landscape of Home by Julie Moir Messervy and Sarah Susanka.
  • The Not so Big House, A blueprint for the way we really live by Sarah Susanka with Kira Obolensky.
  • The Not so Big Life, Making room for what really matters.
  • Not so Big Remodeling by  Sarah Susanka and Marc Vassallo.

Edwin has been reading the Home Depot 1-2-3 home reference series published by Meredith Books for many years now.

  • Flooring 1-2-3, Expert Advice on Design, Installation and Repair.
  • Kitchens & Baths 1-2-3, Your Blueprint for a Perfect Kitchen or Bath.
  • Wiring 1-2-3, Install, Upgrade, Repair and Maintain your Home’s Electrical System.

Guide Books (the Green Edition) by Creative Homeowner publishing:

  • SmartGuide Basements, Step-by-step Projects.
  • SmartGuide Plumbing, Step-by-Step.
  • UltimateGuide Porches, by Steve Cory.
  • UltimateGuide to Masonry and Concrete.

From Sand Castles to Dream Houses, A planner for building or remodeling your home. by Sheri Koones.

Graphic Guide to Frame Construction by Rob Thallon.

Living in the Past, An owner’s guide to understanding & repairing an old home, by Scott Austin Sidler.

Minnesota’s Own, Preserving our grand homes, by Larry Millett with photographs by Matt Schmitt.

Shingle Styles, Innovation and Tradition in American Architecture 1874 to 1982 by Leland M. Roth, Photography by Bret Morgan.

Shingle Style Architecture for the 21st Century, by Ashley Rooney

Shingle Style Houses, Past and present by Ashley Rooney with John C. McConnell and Turner Brooks.

Many friends/family have not understood why we chose to keep the century old wood windows instead of changing to vinyl or aluminium. Among many chapters of other books, blogs,  or parts of home remodeling shows,  this book goes into more detail of our eco friendly choice.

  • Working Widows, A guide to the repair and restoration of wood windows, by Terry Meany.

Aside from reading books (which was mainly Anne’s way getting educated about remodeling) we both also spent time watching these great shows on the DIY Network and HGTV channels on DirecTV

  • Rehab addict
  • Holmes Inspection (Making it Right)
  • Fixer Upper
  • Salvage Dawgs (actually on History channel)

The permit process: Step 2 filing paperwork

On October 17th we received the structural engineering report. The good news was that the foundation of the home  is solid and that we can put all of our focus on the framing and structure of the home.

We submitted the report with a permit request form and some of the drawings to the city building inspector.

She responded with the message that she was missing some details on the front porch rebuild.

This requires a lot more effort than I throughout it would, and I have to spend some time on the research.

A new front entry way at the ‘front’ of the house

The current front porch of the house is too wide and it is just as bland as the entrance on the side of the house. Guests are unclear as to which door is the ‘front door’.

The entrance is actually on Kenwood street, yet the mail has been delivered to the side of the house which is on a different street with different numbering.

We have a much more formal entrance planned. The new formal entrance is much more appropriate for the Shingle Style houses of the late 1800’s.Front Entrance

But first the demo must begin. See Edwin’s visit in October for the first steps in that process.


The Show Wall

The Dining room was given a different wall than any other room in the house. When we bought the house, this wall was covered with paneling and wall paper, but after removing some of those materials we found this beautiful tongue-and groove wood.

Beautiful hardwood tongue-and-groove wall in the dining room

We plan to clean it up, remove the layers of wall paper and show it off. It will really give the home and unique look.

Last day, getting the house ready

So much to do, so little time….

Usable siding materials removed.
Before
Siding put back
After

The porch gutting was done, but the siding was still off. We did not want to give this ugly view to our neighbors, so the first thing I did is reinstall the siding.

Living room wall all clean now.

After that was done, I had to remove the remaining insulation from the walls.

Vacation home HQ
Vacation home HQ

Then it was time to organize all the stuff we have accumulated in the home; Tools, safety equipment, etc.

At the end of the day, I winterized the house. This means that you drain all the water lines, and put anti-freeze into drains. Followed by putting tape over the faucets and drains, so that folks don’t inadvertendly put any water down them.

I also had to return a bunch of items to Menards  that I did not use (house wrap, staple hammers, etc).

Aside from these actions, I had a meeting with the city building inspector to discuss the project. See my next post for how that went.

The permit process, step 1. Meeting the building inspector

I had a conversation with the contractor we are working with and he asked if I had spoken to the city yet about our plans. My answer was a slightly surprised: “No, should I have?”

I honestly thought that you created the plans, and then you submit them and get the permit (or push-back) and you resolve it then.

Anyway, the contractor contacted the City and we had the building inspector come over for a consultation visit.

We collectively came to the conclusion that a structural engineer should have a look at the home and assess the various issues we have found and also assess the changes we want to make to the home’s structure.

Change of plans for this trip; don’t take the porch down

Yesterday evening I discussed with Anne what I still needed to do besides the porch removal and the work involved with taking the remainder of the porch down. We decided to leave the porch, in its open form, as is for now. This was a huge relief, since there was still a daunting task ahead of me to finish the removal and to keep the home weather proof.

I could therefore visit the historical society (see other post) and work on removing some remaining lath and plaster. I also needed to get some more stuff to winterize the home. And I needed to get a camera, since I had forgotten to bring one from CA.

The first thing I did was to go out to a couple of stores to find a match for the current siding of our home. I was successful and it is still commercially available. This is a huge relief, not because I like this siding so much, but because it saves us the cost of residing the entire house when we do the remodel.

The siding make/model/color is: CertainTeed/Mainstreet D5/Savanah Wicker.

Yikes, this house was pink on the outside at around the 1950's.
Yikes, this house was pink on the outside at around the 1950’s.

I was pleasantly surprised in the afternoon, right at around 4:30, two of the tech students came by to help (I had given them an open invitation) and together we got all of the porch ceiling removed and it was heavily insulated. The dumpster bin is nice and full now. We found out what color the wood siding was just prior to closing up the porch: Pink (yes, we pity the neighbors too)

We all worked until it got dark (I bought a flood light this morning, but I did not want to risk anyone getting hurt).

Gutted to the point of full removal when the new construction will start.
SAMSUNG CAMERA PICTURES
All of the additions to the original 1890 home were done poorly. None of the roofs were attached using a ledger board. They just toe-mailed the joists into to siding.

The porch is gutted to a point where the next thing to do is to remove the structure and build the new one.