Wednesday April 17
Day 8, our first day to start working on the windows. Unlike earlier posts (last year) where we restored windows that were already installed in the wall, today would be the day that we had to build frames for window sashes, prior to installing them in the wall.
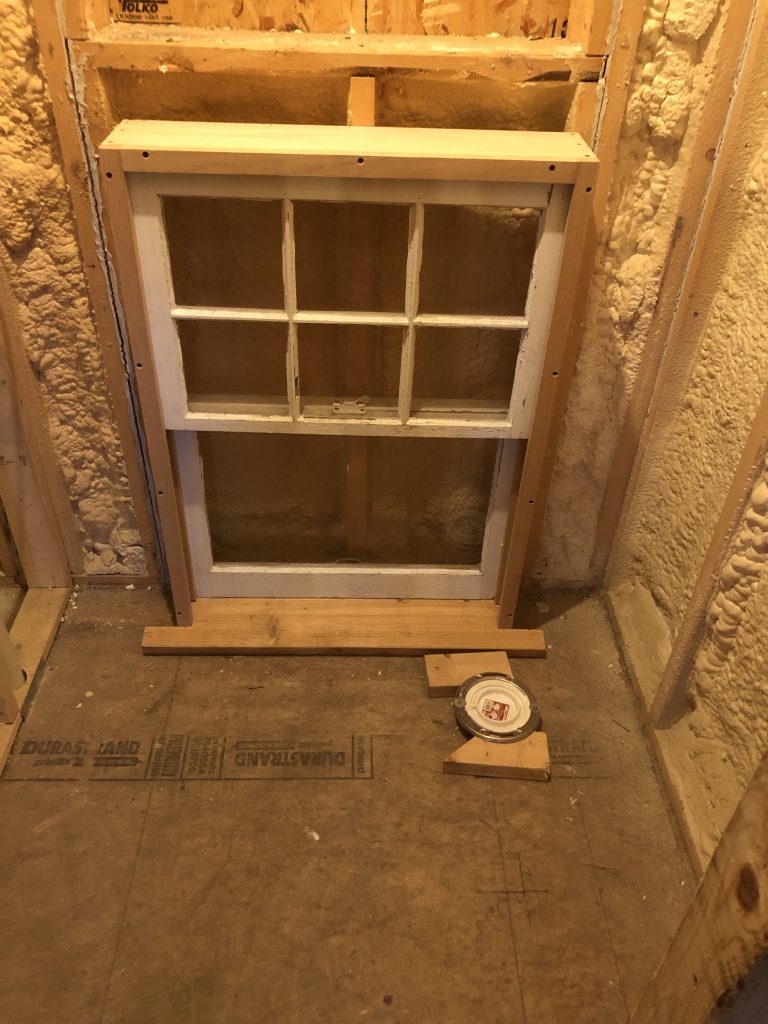
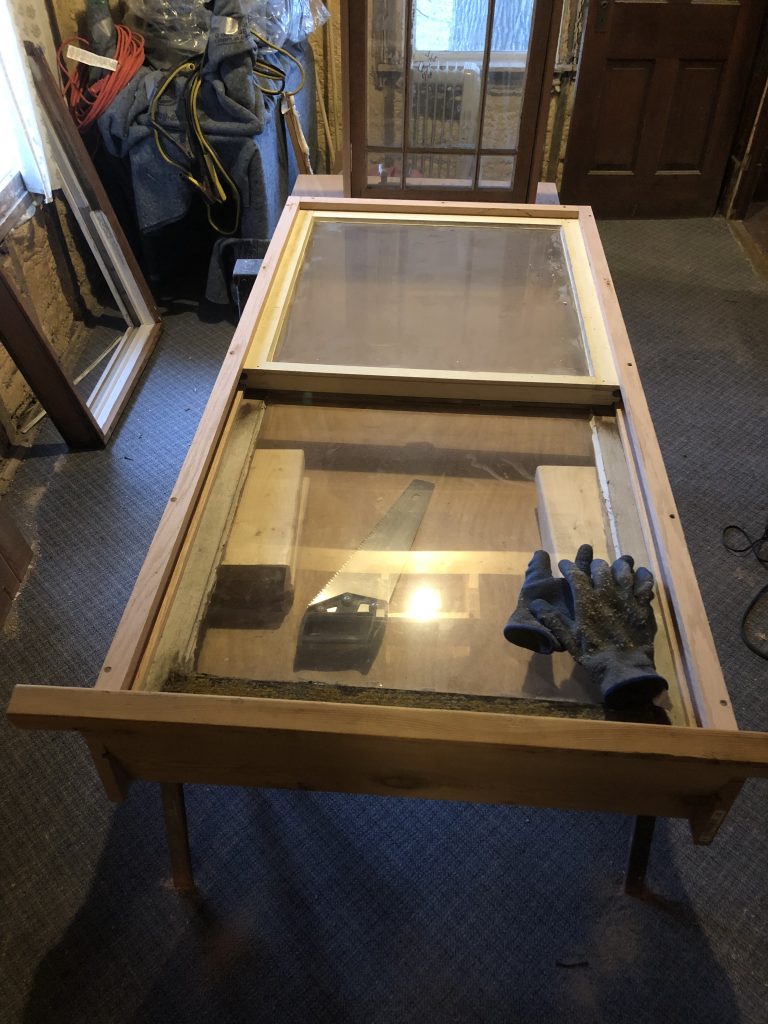
The plan for today was to take on the guest bedroom window and the powder room window. The powder room window actually already had a frame with a bad window sill, but it was sized for the old-style 5-inch thick wall. But with the remodel of the back of the house, all the walls are the new code thickness (6 1/2 inch). So instead of modifying the existing frame, we decided to use the old frame as a template for the new frames we needed to build.
The old window frames that are already in the house were made of the old, higher density, wood. Most likely some flavor of pine. However, with the current, faster growth, lower density pine woods, I decided to use red oak for the frame builds.
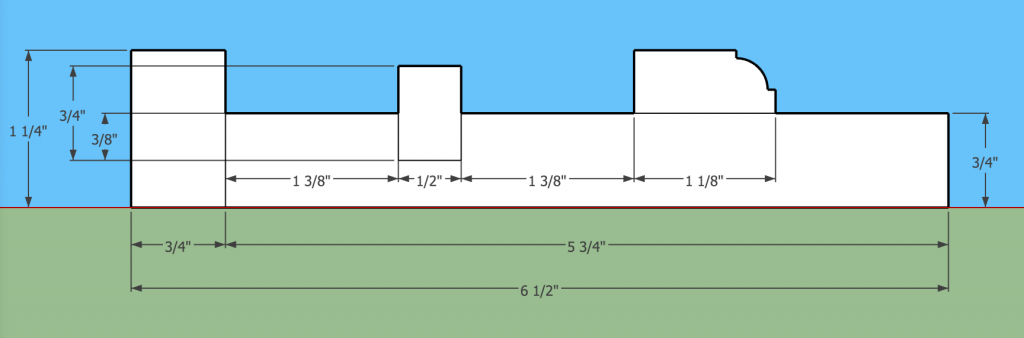
The raw base material I ordered was various lengths of 1×8 red oak. The true dimensions of a 1×8 are: 3/4″ x 7 1/4″. In the diagram below you can see that the raw stock is ripped with two cuts: One to get a main board of 5 3/4″ wide and one for the face frame of 1 1/4″ wide. A separate board is used to get the 1/2″ strips for the separator/sliding guide between the top sash and bottom sash. The fancy profile is a stock (colonial) profile that every lumber store carries as a ‘window stop’ profile.
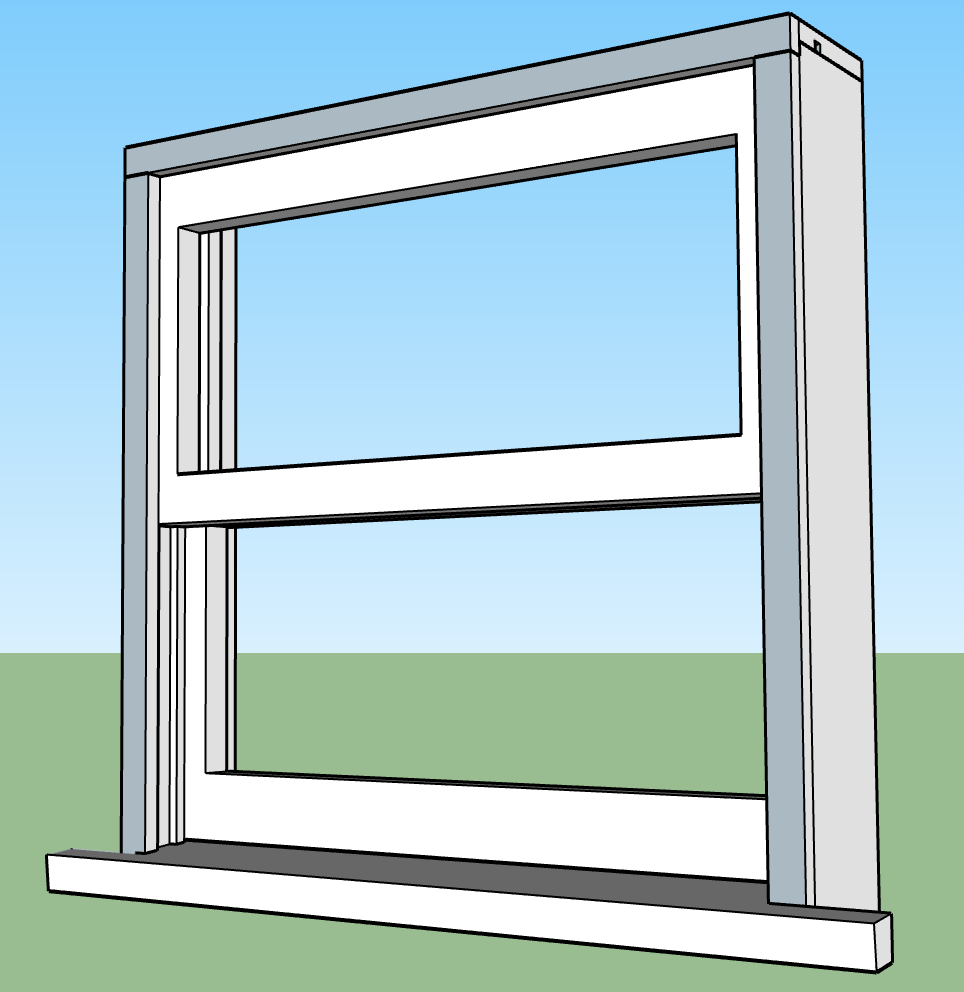
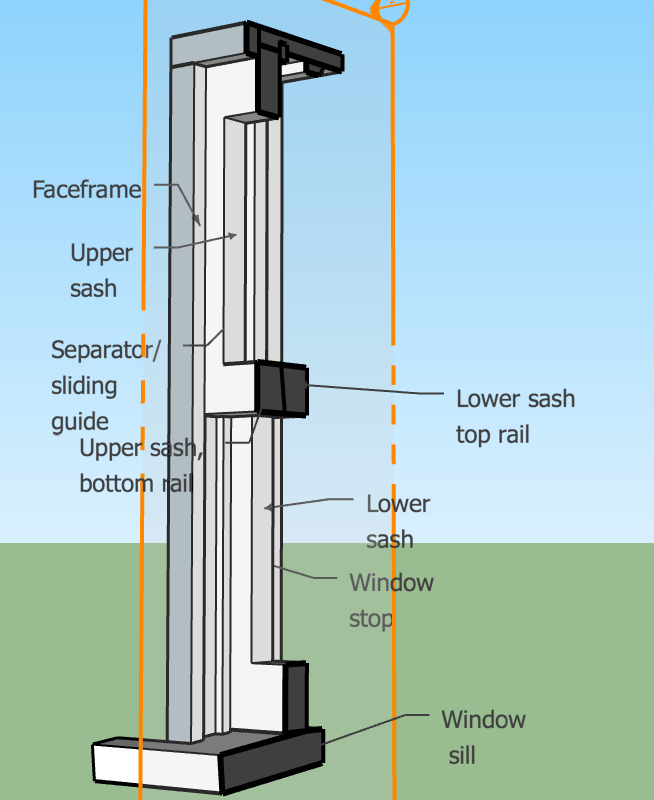
In the picture on the left you can see a cross section of the double-hung window.
What is interesting is the way the bottom rail of the top sash and the top rail of the bottom sash wedge into each other. That design, in combination with a certain type of latch that sit on top of the top rail of the bottom sash, make the sashes sit very snug when the window is closed and locked..
The resulting window frames were ready for installation, but we did not have enough courage and time to make a hole in the wall (and siding) on the north side of the house.